Using Views
1. Adding Views
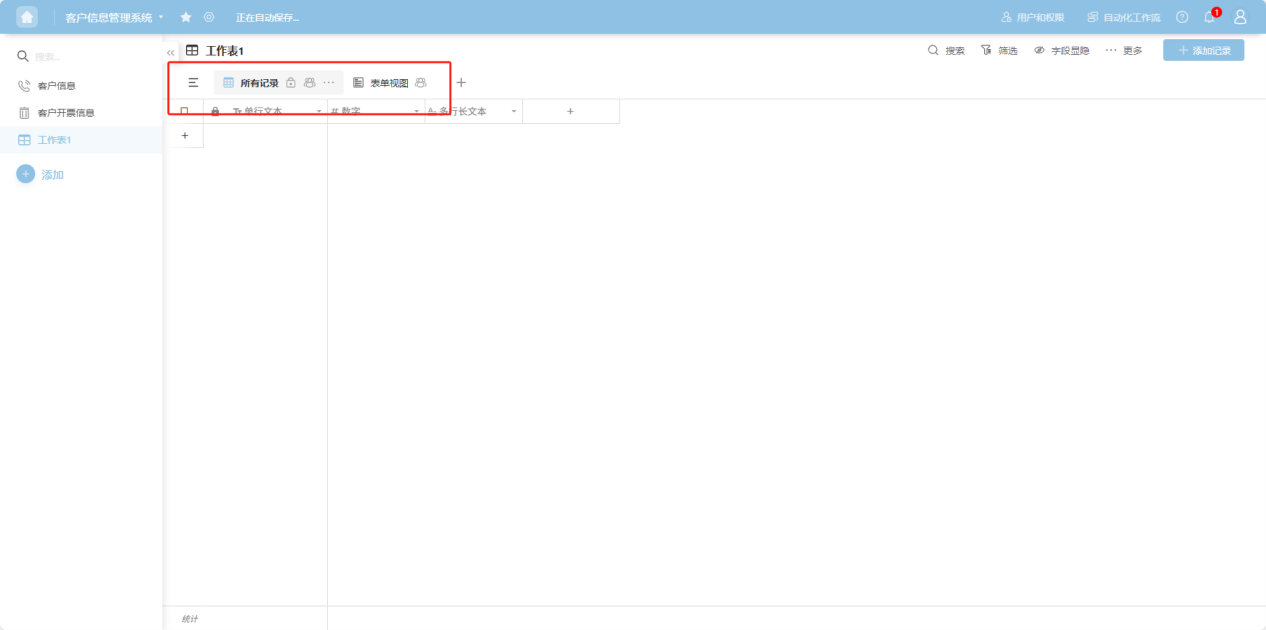
1.1 Default Views
Newly created worksheets come with a default table view (for all records) and a form view. The table stores basic structured data in a row-and-column format, while the form is used to collect data for the table.
1.2 Adding a New View
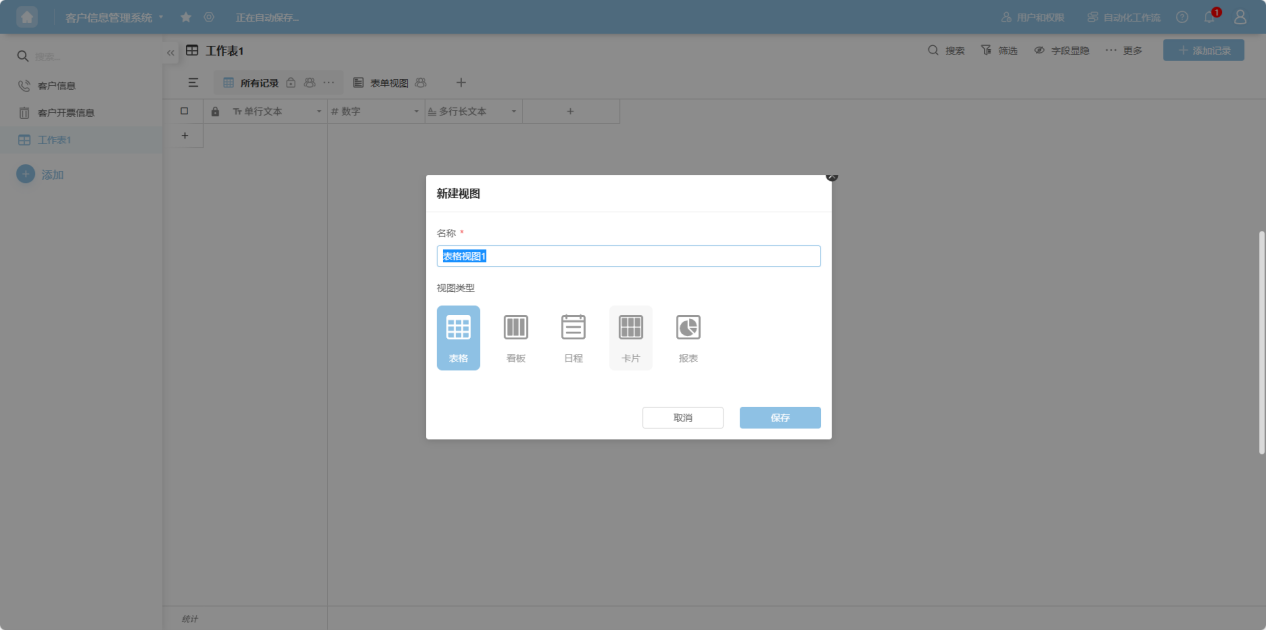
1.2.1 Table View
Table views store basic structured data in a row-and-column format.
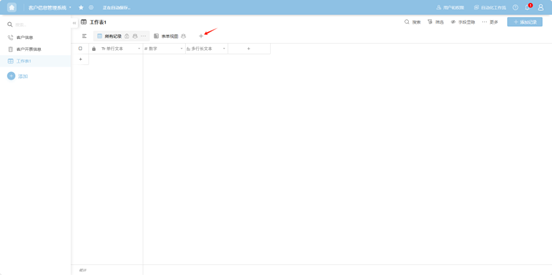
Step 1: Click the "+" button.

Step 2: In the pop-up window, select "Table", name it, and click "Confirm".
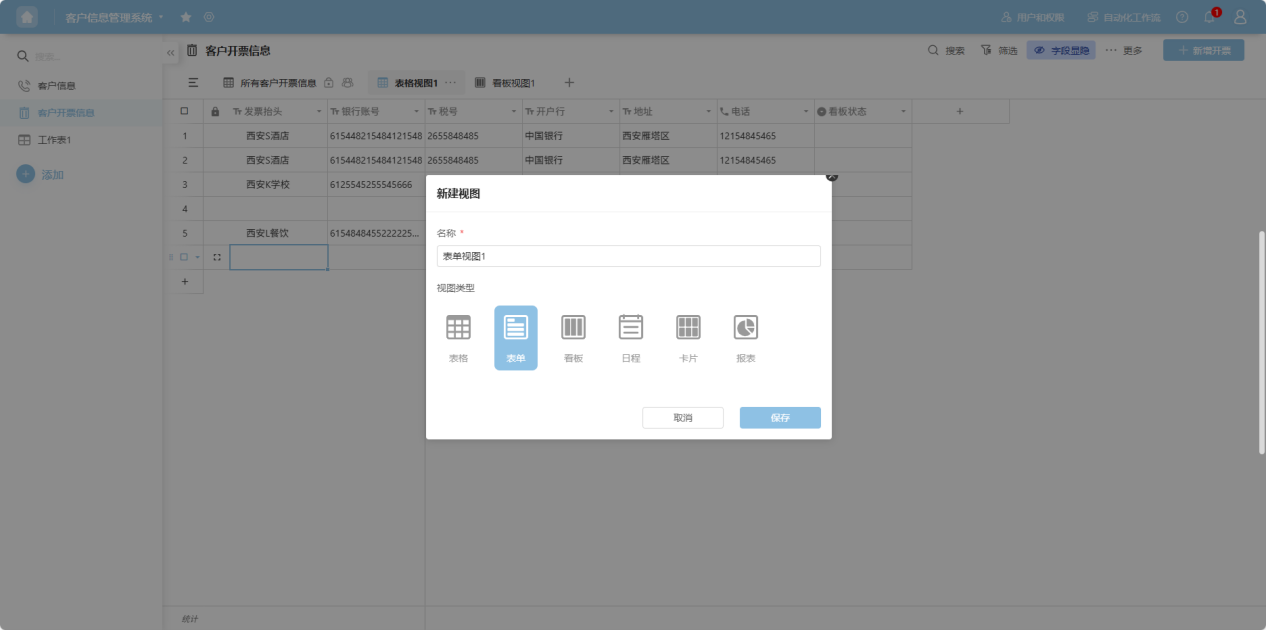
1.2.2 Form View
Form views display all fields of a table in a form format, which can be used to collect table data.
Step 1: Click the "+" button.

Step 2: In the pop-up window, select "Form", name it, and click "Confirm".
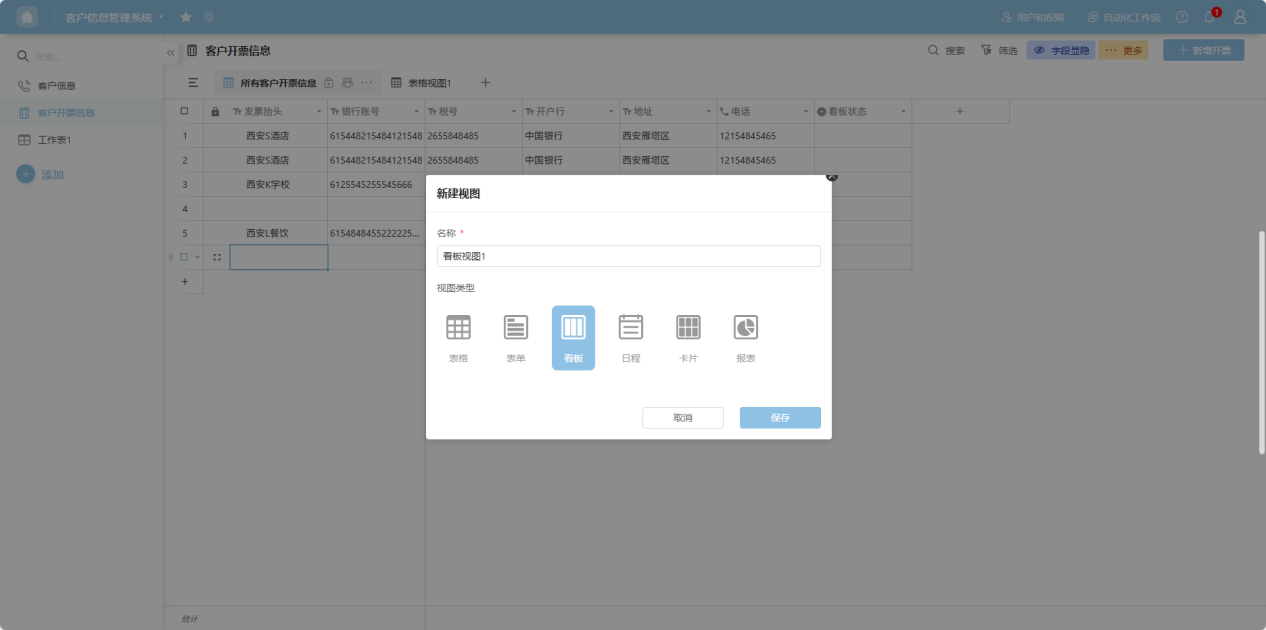
1.2.3 Kanban View
Kanban views display data in different statuses from the table in a kanban format.
Step 1: Click the "+" button.
Step 2: In the pop-up window, select "Kanban", name it, and click "Confirm".
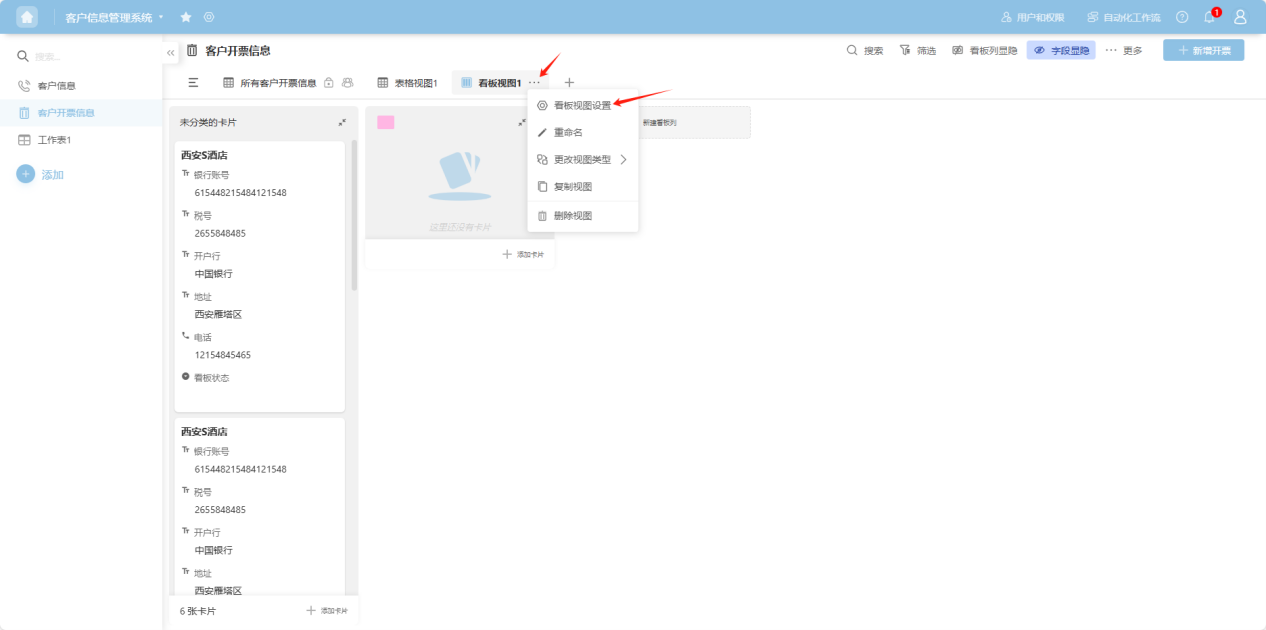
Step 3: Click the newly created kanban, then click "Edit Column" on the right and select "Kanban View Settings".
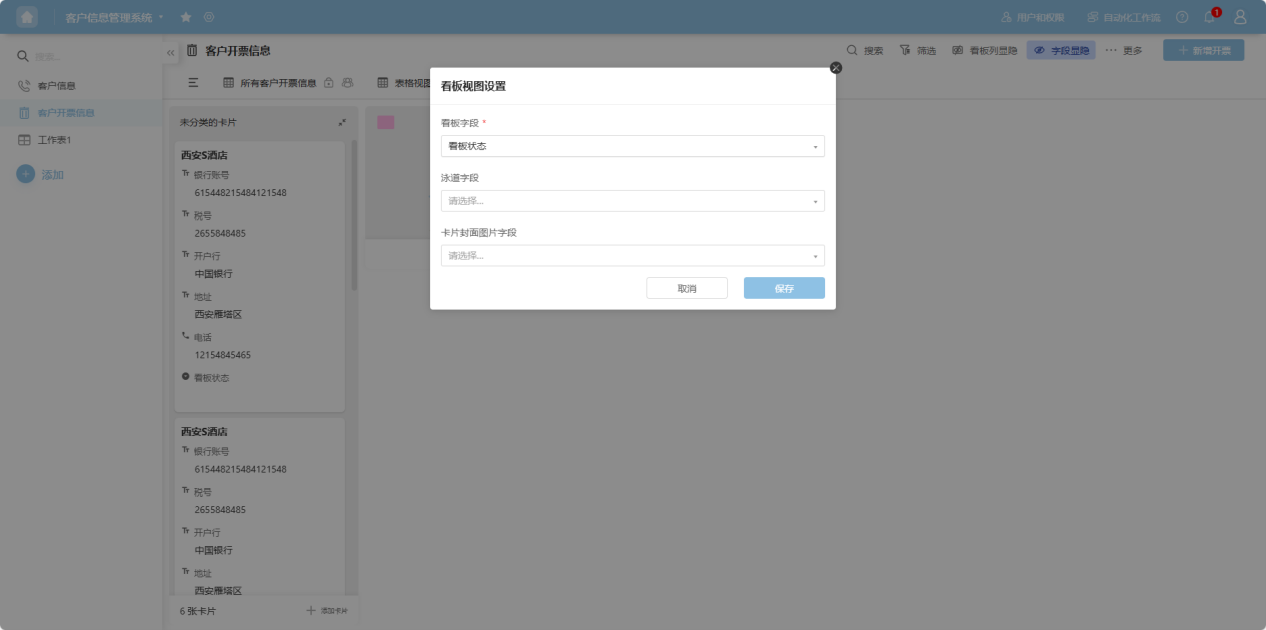
Step 4: In the pop-up window, configure the Kanban Field, Lane Field, and Card Cover Field. The Kanban and Lane fields will automatically display statistics based on any status value in the table.
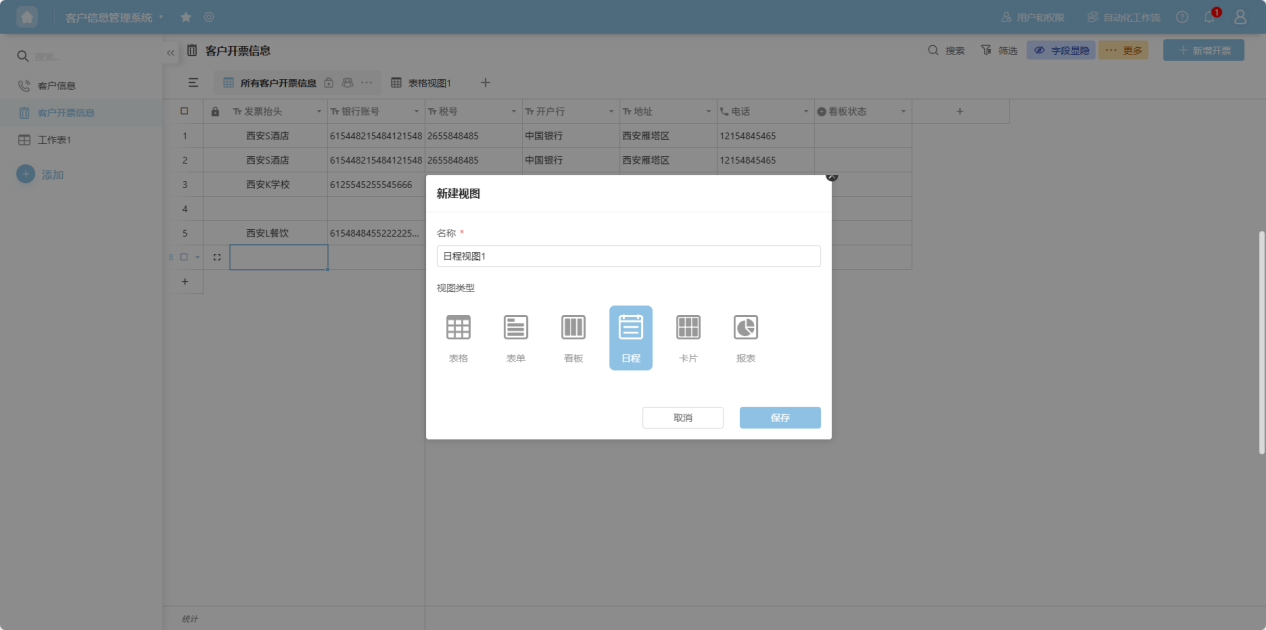
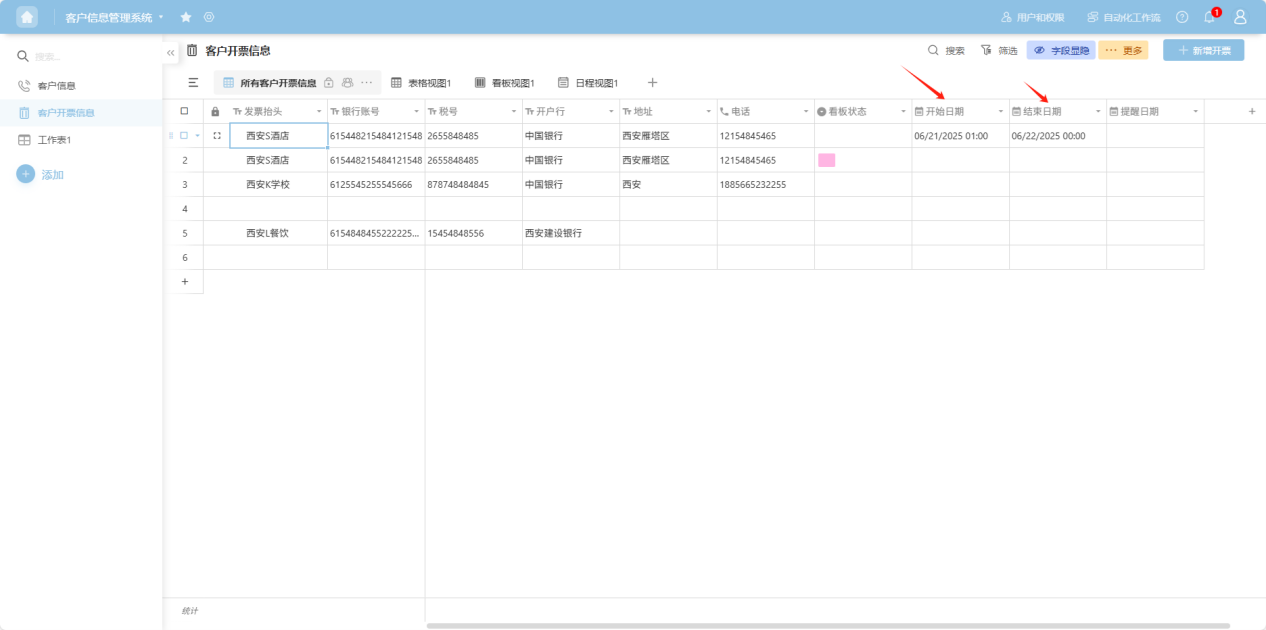
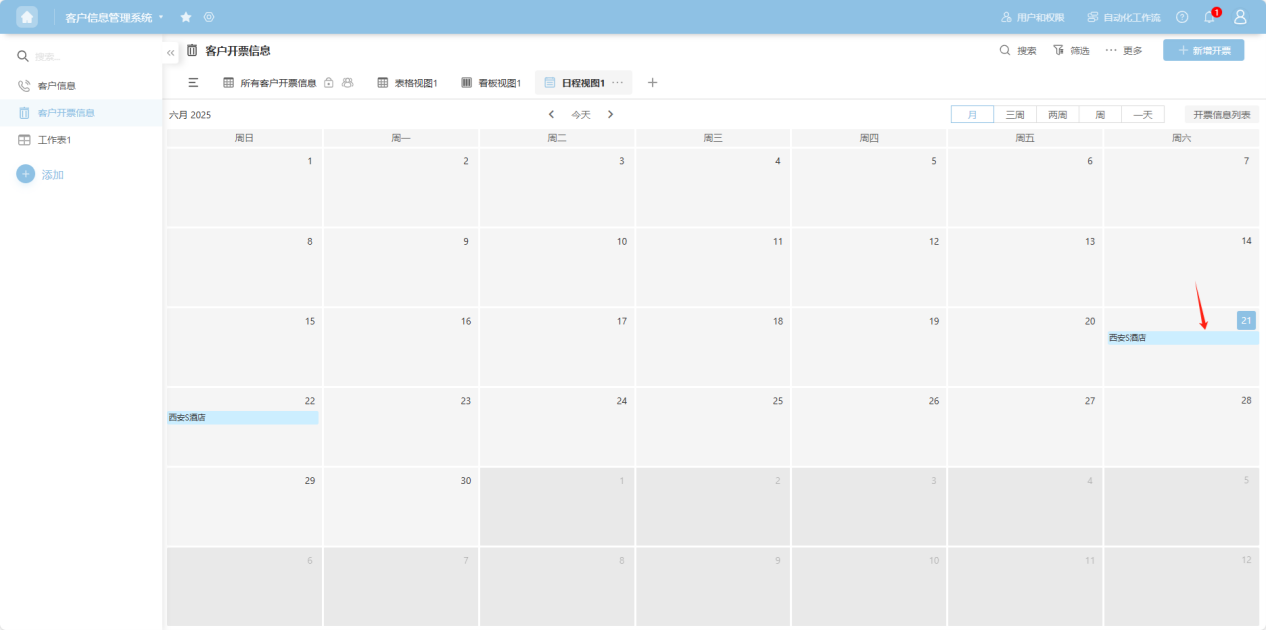
1.2.4 Calendar View
Calendar views display data with specific schedule arrangements in a date-based Gantt chart format.
Step 1: Click the "+" button.

Step 2: In the pop-up window, select "Calendar", name it, and click "Confirm".
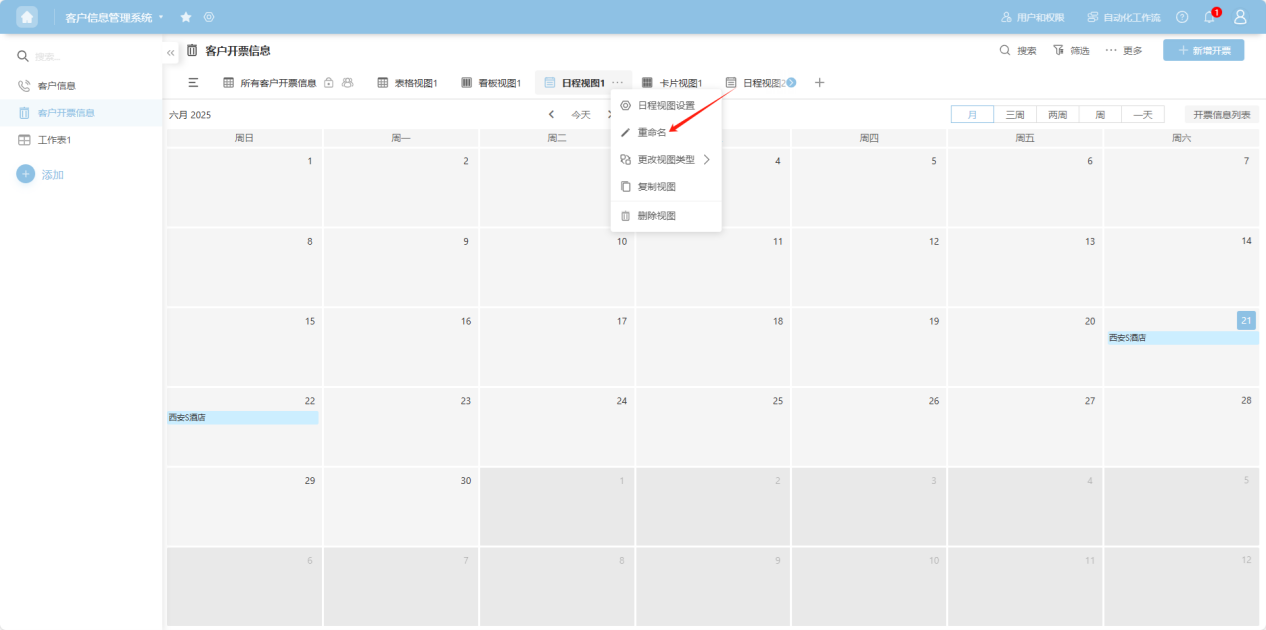
Step 3: The Calendar view will automatically mark schedules based on the start and end dates in the data table.
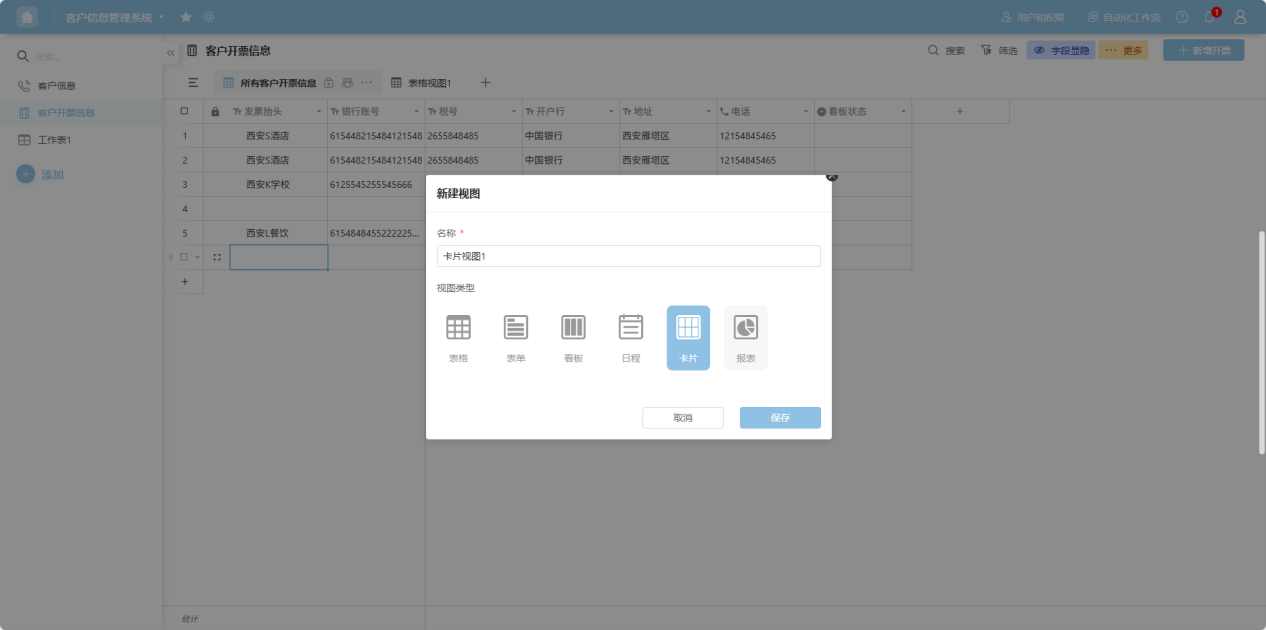
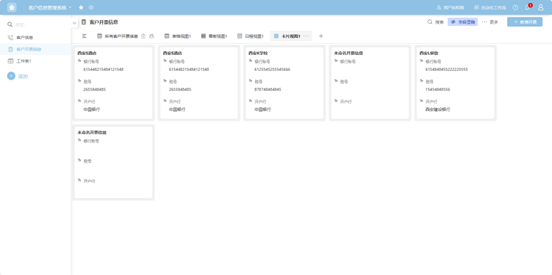
1.2.5 Card View
Card views display each row of data from the table in a card format.
Step 1: Click the "+" button.

Step 2: In the pop-up window, select "Card", name it, and click "Confirm".
Step 3: The system automatically displays each row of data as a card.
1.2.6 Report View
Report views statistically analyze table data using various types of charts.
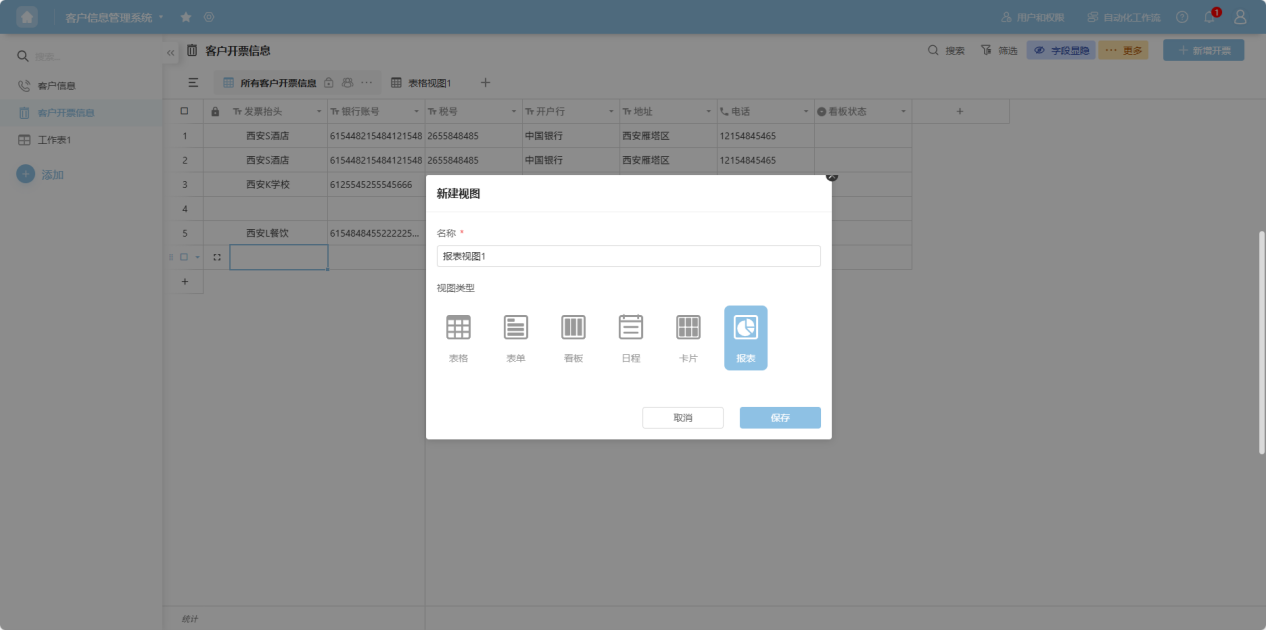
Step 1: Click the "+" button.

Step 2: In the pop-up window, select "Report", name it, and click "Confirm".
Step 3: On the opened page, drag the desired data chart from the right side.
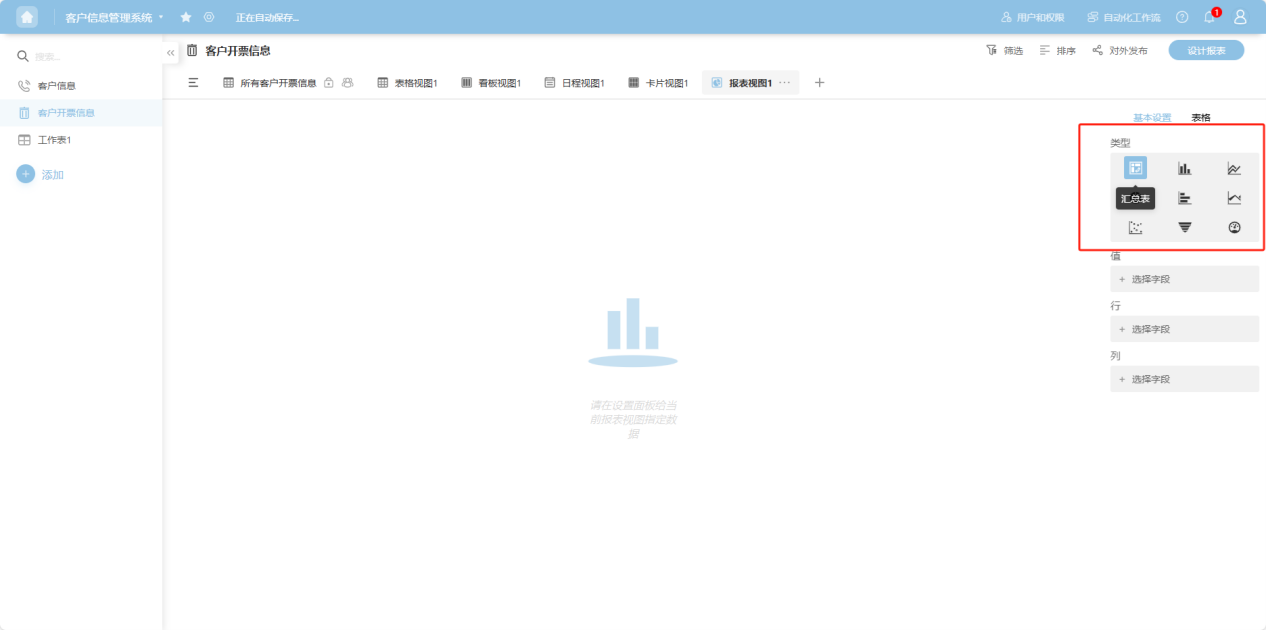
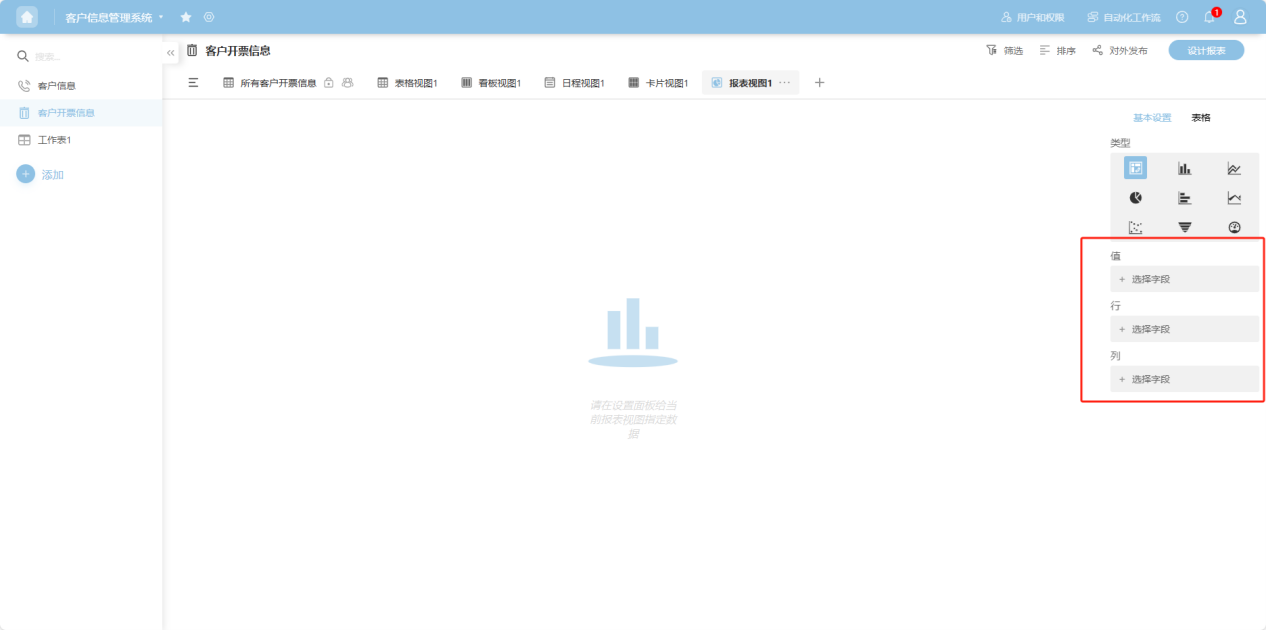
Step 4: For different chart types, select the required fields accordingly.
2. Renaming a View
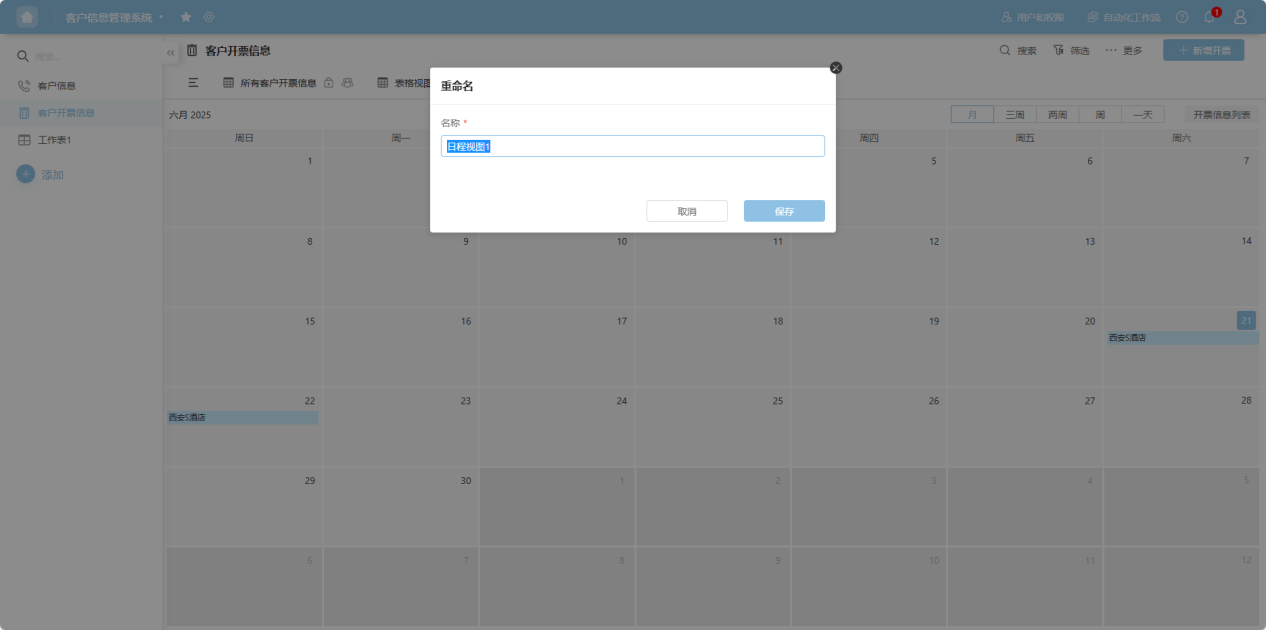
Step 1: Click the " ··· " next to the view name you want to rename and select "Rename".
Step 2: On the opened page, enter the new name.
3. Copying a View
Step 1: Click the " ··· " next to the view name you want to copy and select "Copy View".
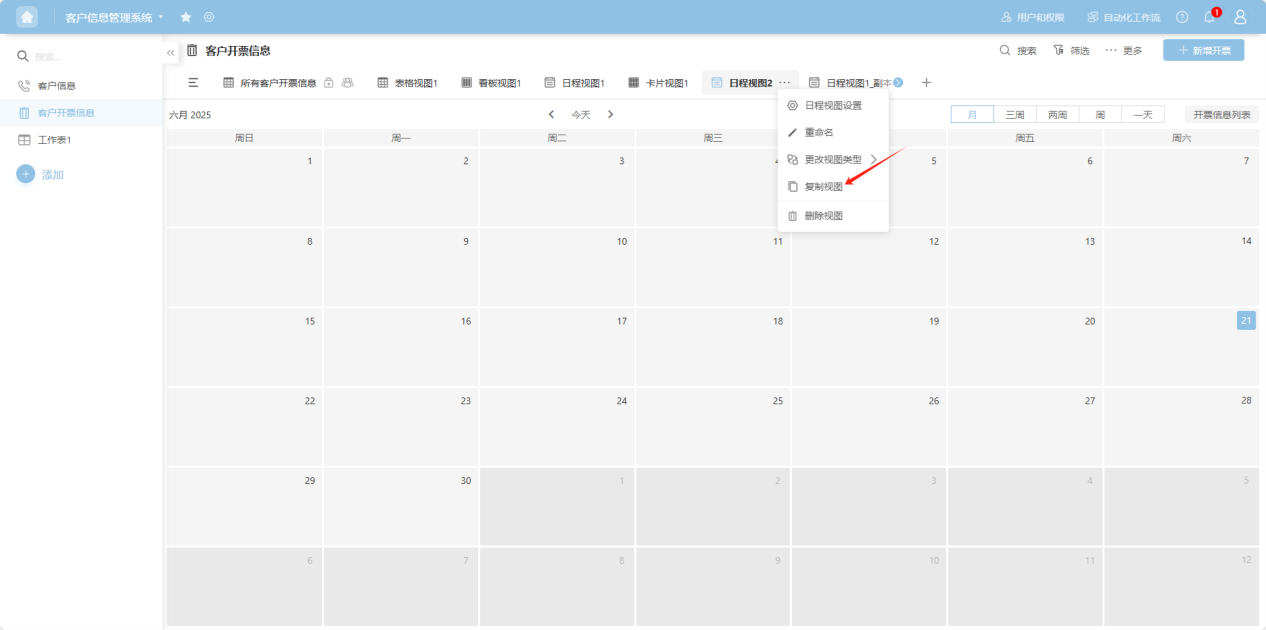
Step 2: The copied view will be displayed as a duplicate on the right.
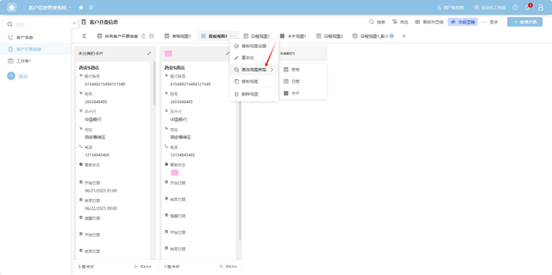
4. Changing the View Type
Click the " ··· " next to the view name, select "Change View Type", and then choose the desired view type.
5. Deleting a View
Click the " ··· " next to the view name and select "Delete".
