Using Worksheets
1. Creating New Worksheets
1.1 Creating Worksheets (Forms)
【Forms can be used to collect data and automatically consolidate the data into tables for management, with support for exporting to Excel】
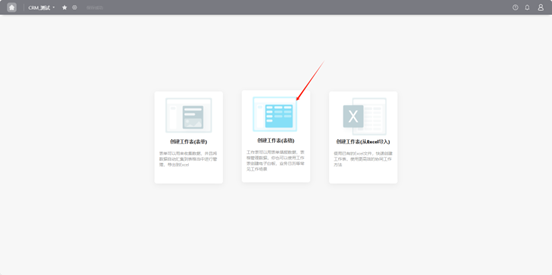
Step 1: From the workspace left application list or application cards under all applications, select the application for which you want to create a worksheet
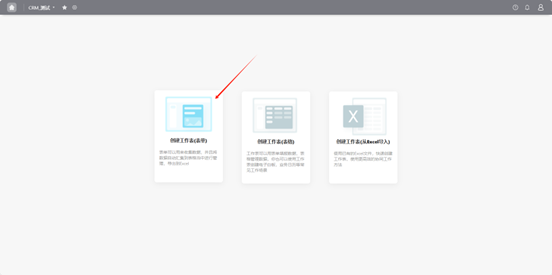
- When there are no worksheets in the application, select "Create Worksheet (Form)"
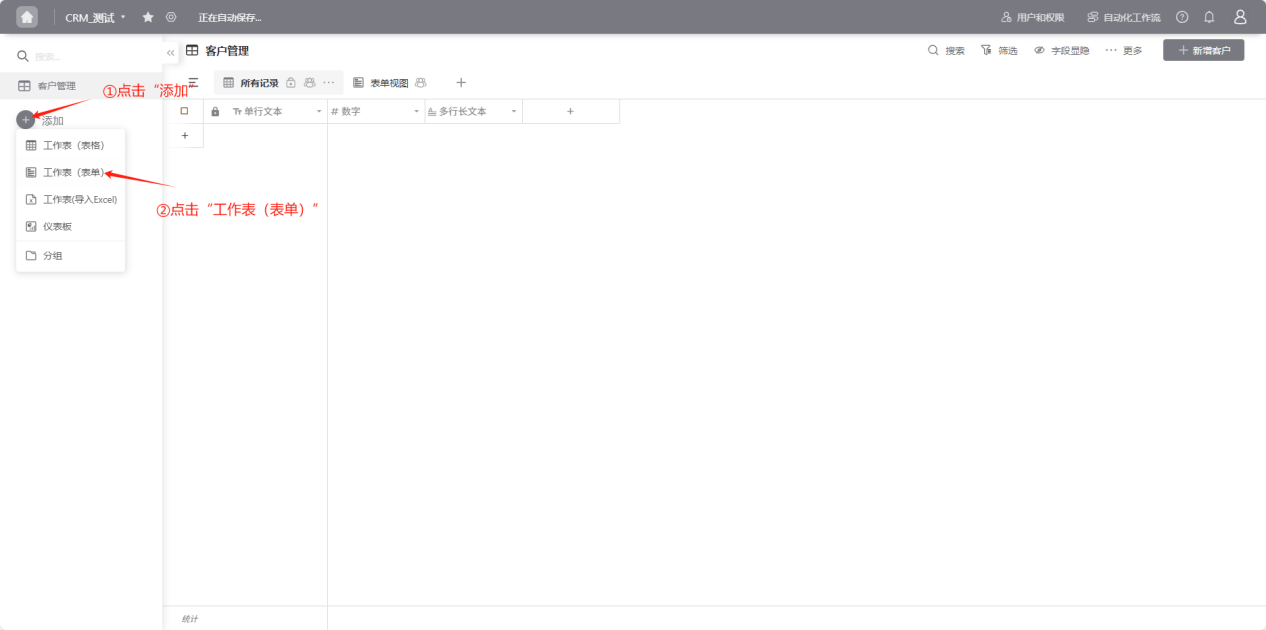
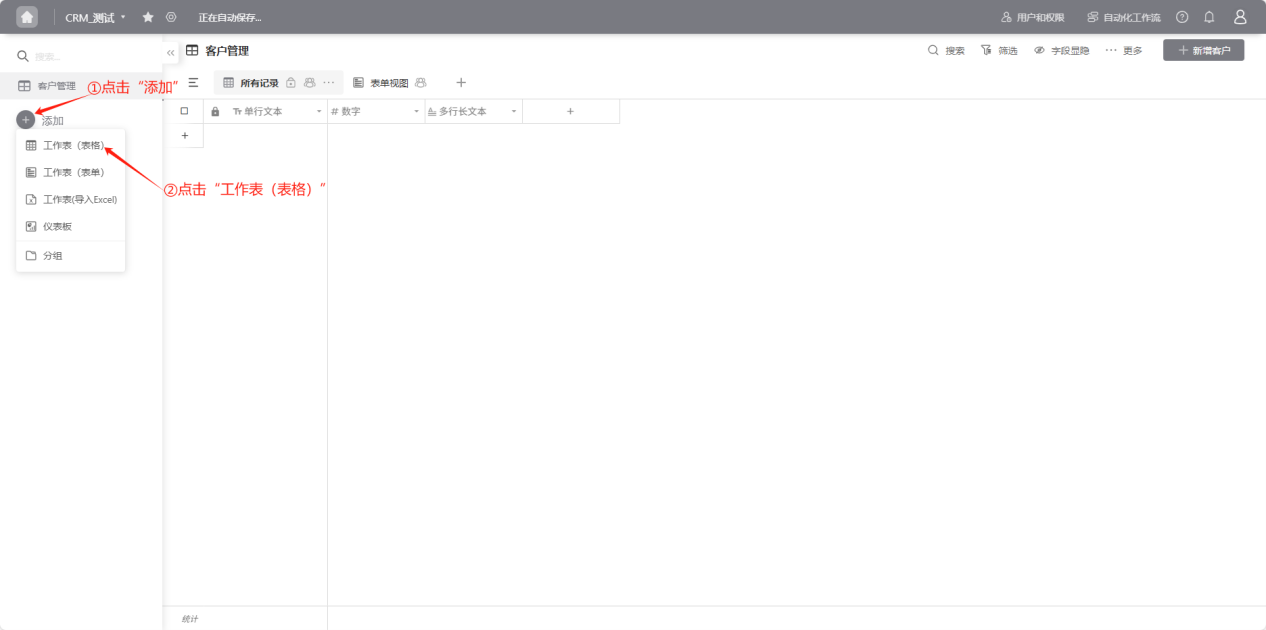
- When there are already worksheets in the application, click "Add" and select "Worksheet (Form)"
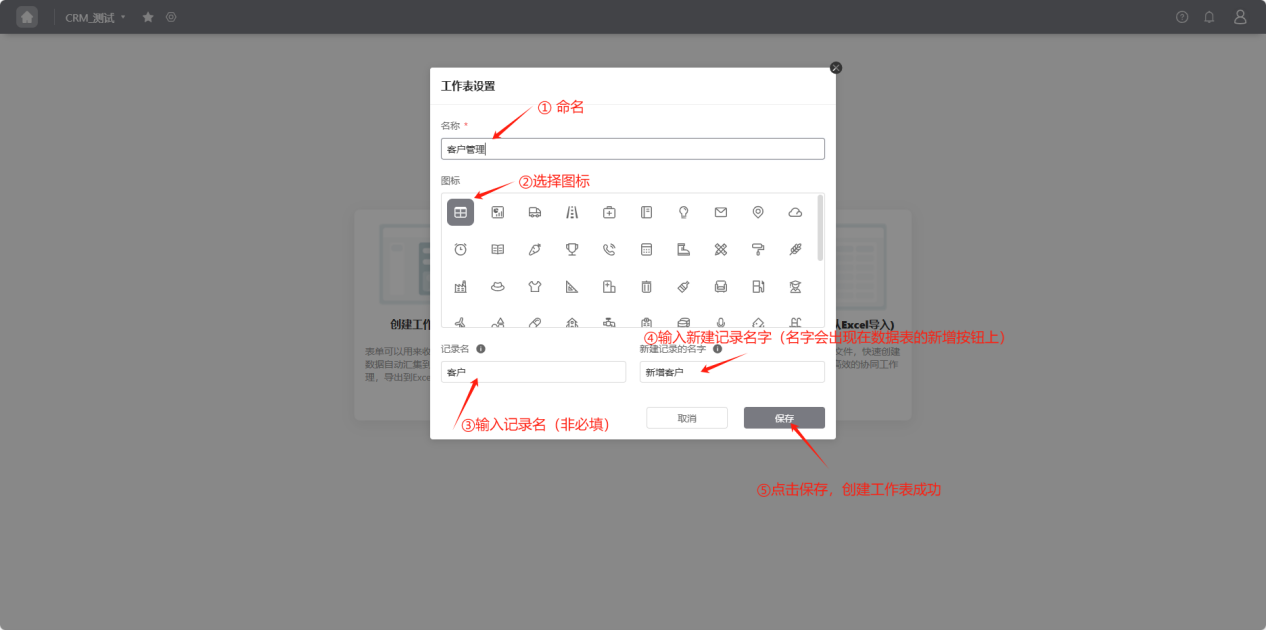
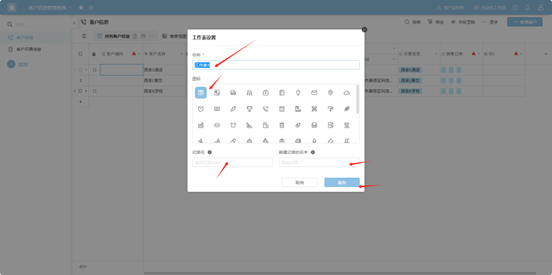
Step 2: Name the worksheet, select an icon, and enter record name/new record name
1.2 Creating Worksheets (Tables)
【Tables can be used to manage data, enabling visual database operations, allowing create, read, update, and delete operations like spreadsheets】
Step 1: From the workspace left application list or application cards under all applications, select the application for which you want to create a worksheet
- When there are no worksheets in the application, select "Create Worksheet (Table)"
- When there are already worksheets in the application, click "Add" and select "Worksheet (Table)"
Step 2: Sequentially name the worksheet, select an icon, enter record name/new record name, and click "Save" to successfully create the worksheet.
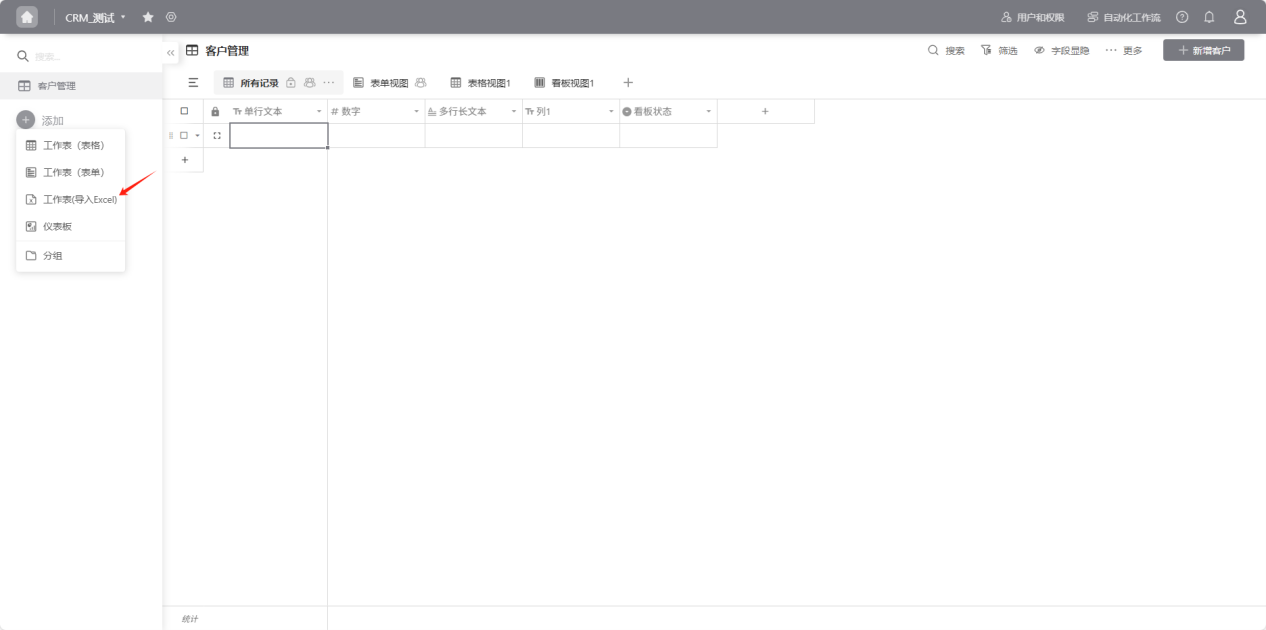
1.3 Creating Worksheets (Import from Excel)
Step 1: From the workspace left application list or application cards under all applications, select the application for which you want to create a worksheet
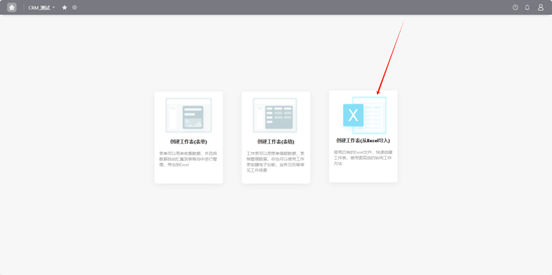
- When there are no worksheets in the application, select "Create Worksheet (Import from Excel)"
- When there are worksheets in the application, click "Add" and select "Create Worksheet (Import from Excel)"
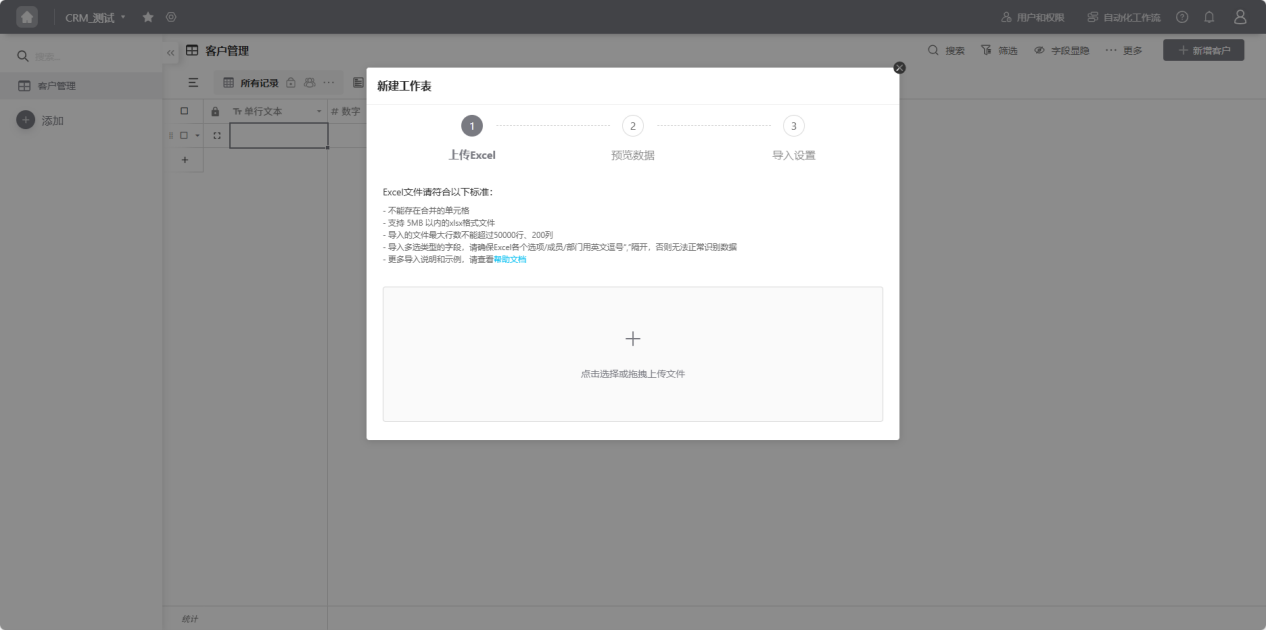
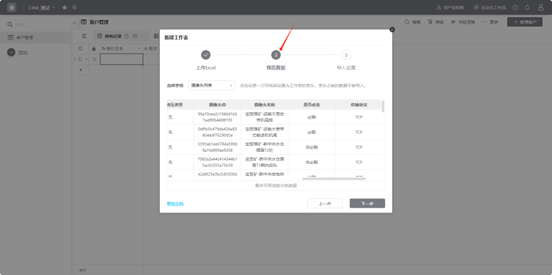
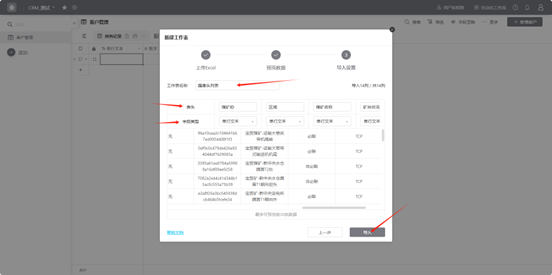
Step 2: Drag the file or click to upload as required, preview the data, and after confirming accuracy, set the worksheet name, headers, and field types (the system will provide default values). After confirming accuracy, click "Import".
2. Viewing Worksheets
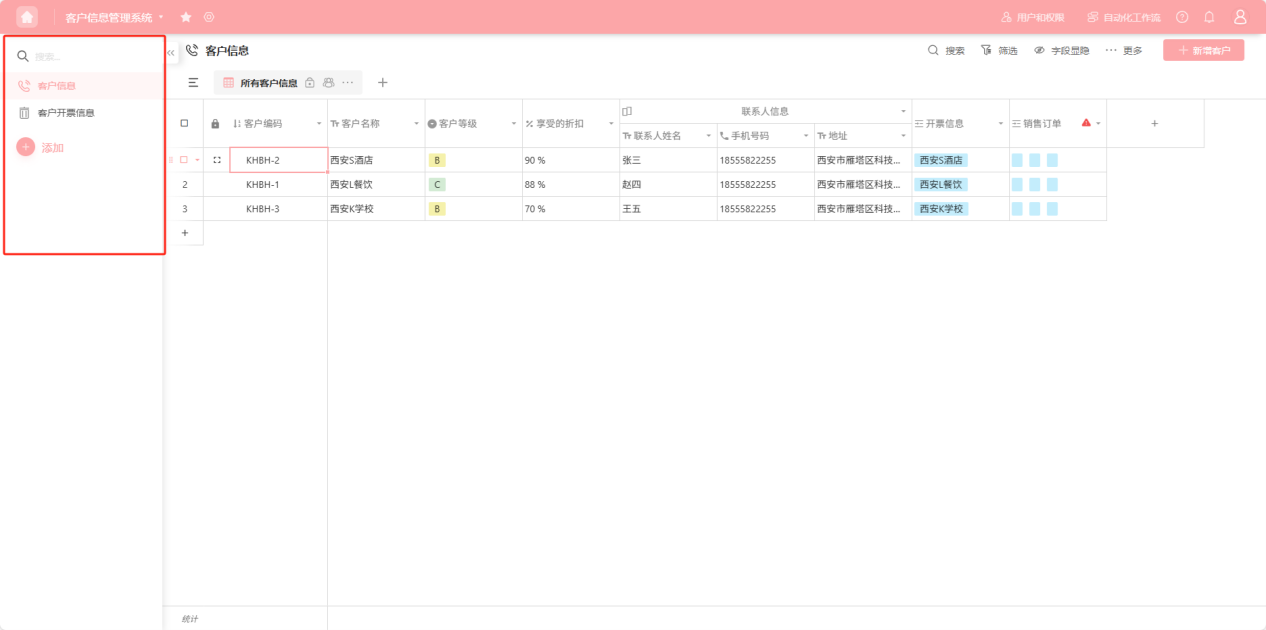
From the workspace left application list or application cards under all applications, enter the application whose worksheets you want to view. After entering, the left side shows all worksheet lists.
3. Editing Worksheets
3.1 Designing Worksheets
3.1.1 Worksheet Design
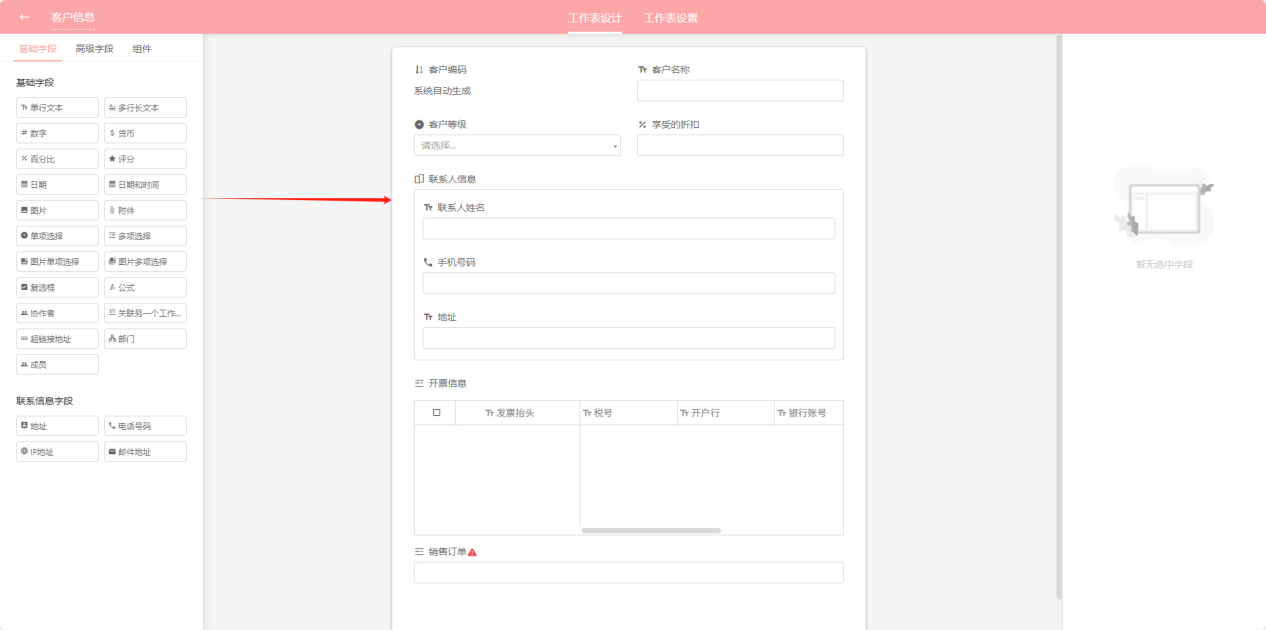
【Mainly for designing worksheet fields and field types】
Step 1: From the workspace left application list or application cards under all applications, enter the application whose worksheets you want to edit.
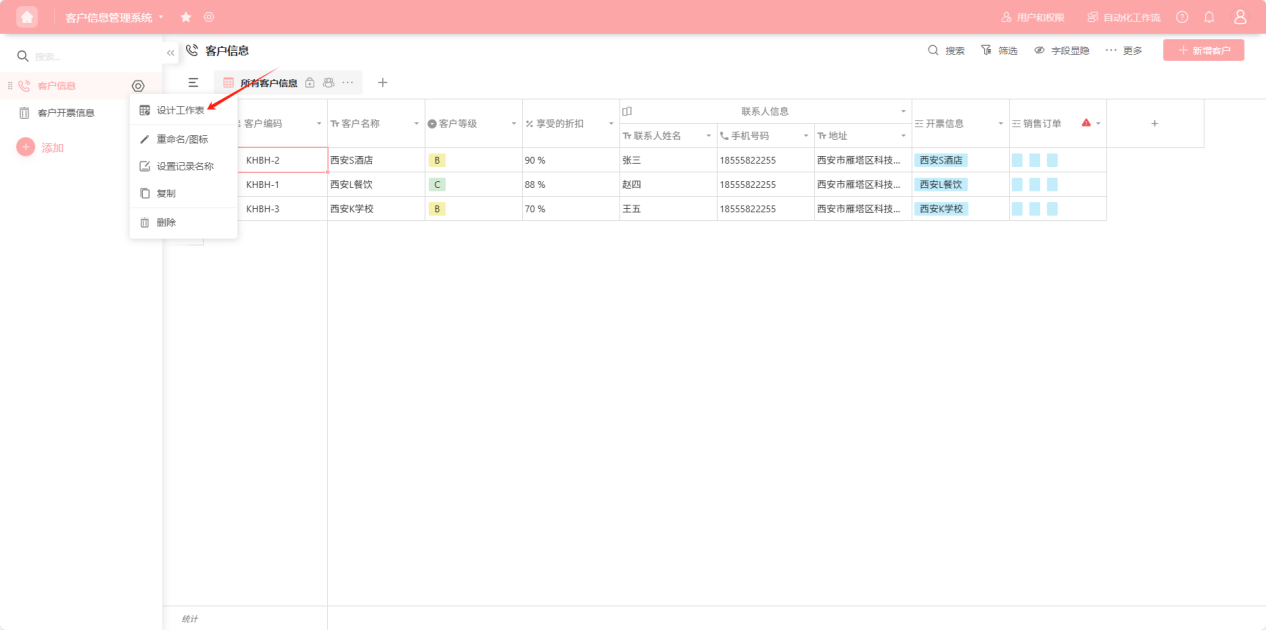
Step 2: Select the worksheet to edit, click the " " on the right side, open the worksheet "Edit Operation Selection" dropdown, and select "Design Worksheet"
Step 3: Drag the required field types to the appropriate positions. Detailed illustrations of each field type will be elaborated in the "Using Data Columns" section (Section 4).
3.2 Worksheet Settings
【Mainly for setting field display rules, print templates, and custom buttons】
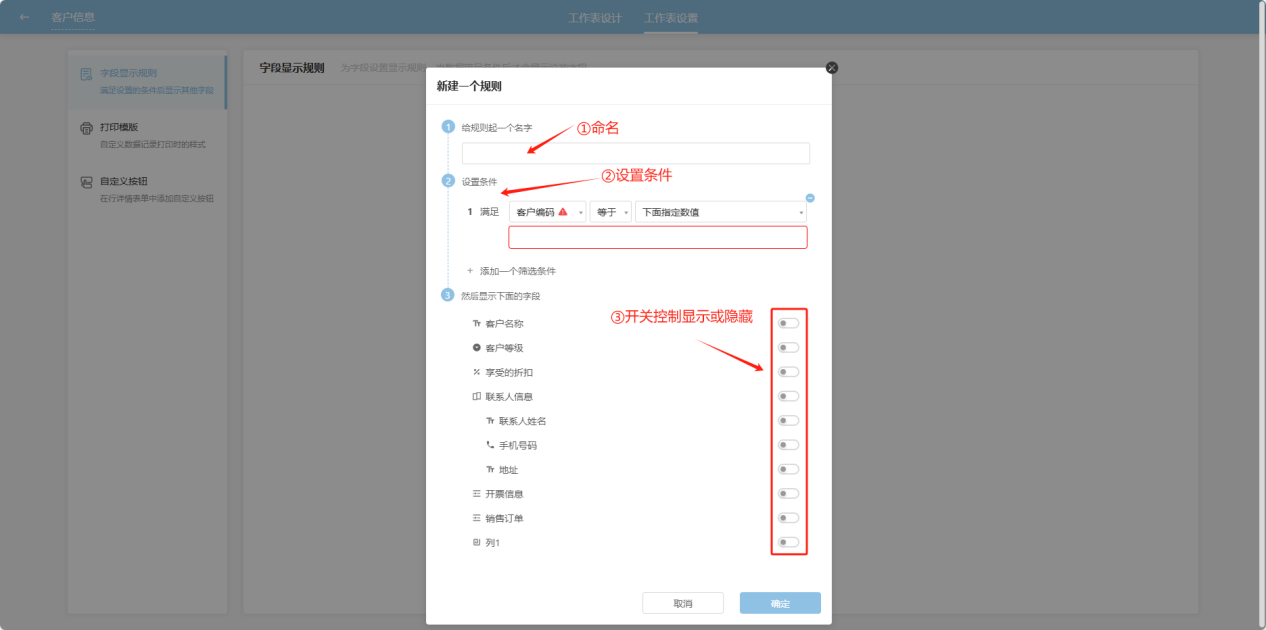
【Field display rules show other fields when one field meets filter conditions】
【Print templates customize the style when printing data records】
【Custom buttons add custom buttons in row detail forms】
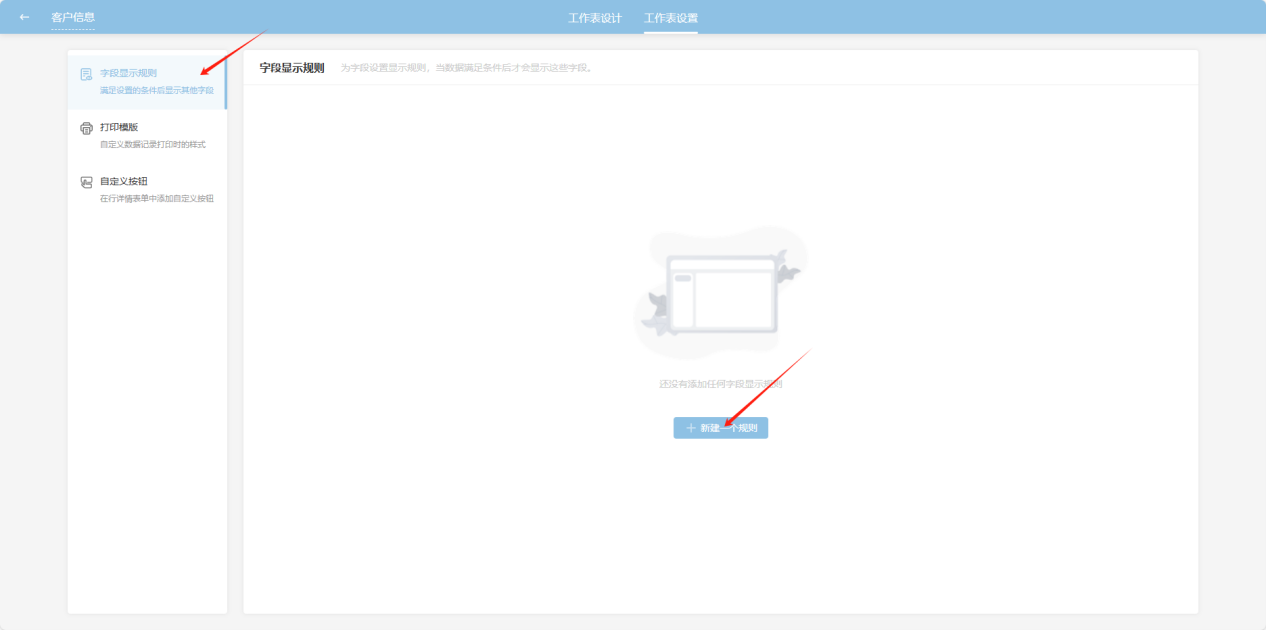
Step 1: Switch to "Worksheet Settings".
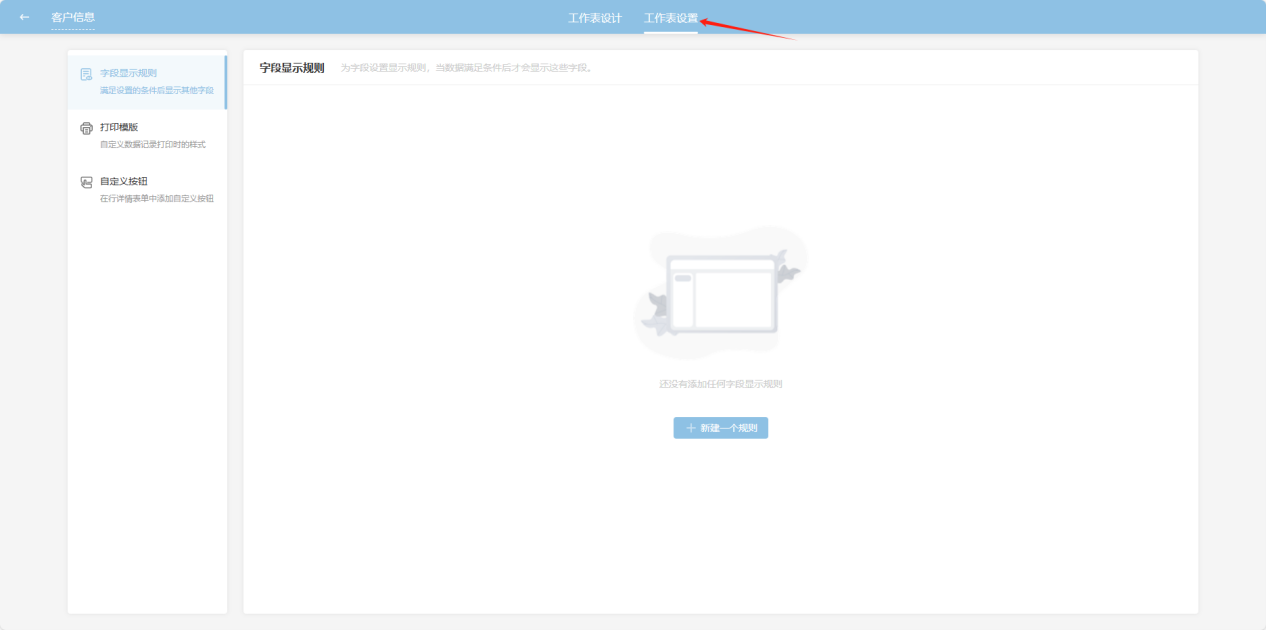
Step 2: Select "Field Display Rules", then "Create a New Rule" on the right page.
Step 3: In the popup window, sequentially name, set conditions, and toggle field visibility.
3.3 Rename/Icon
Step 1: From the workspace left application list or application cards under all applications, enter the application whose worksheets you want to edit.
Step 2: Select the worksheet to edit, click the "" on the right side, open the worksheet "Edit Operation Selection" dropdown, and select "Rename/Icon".
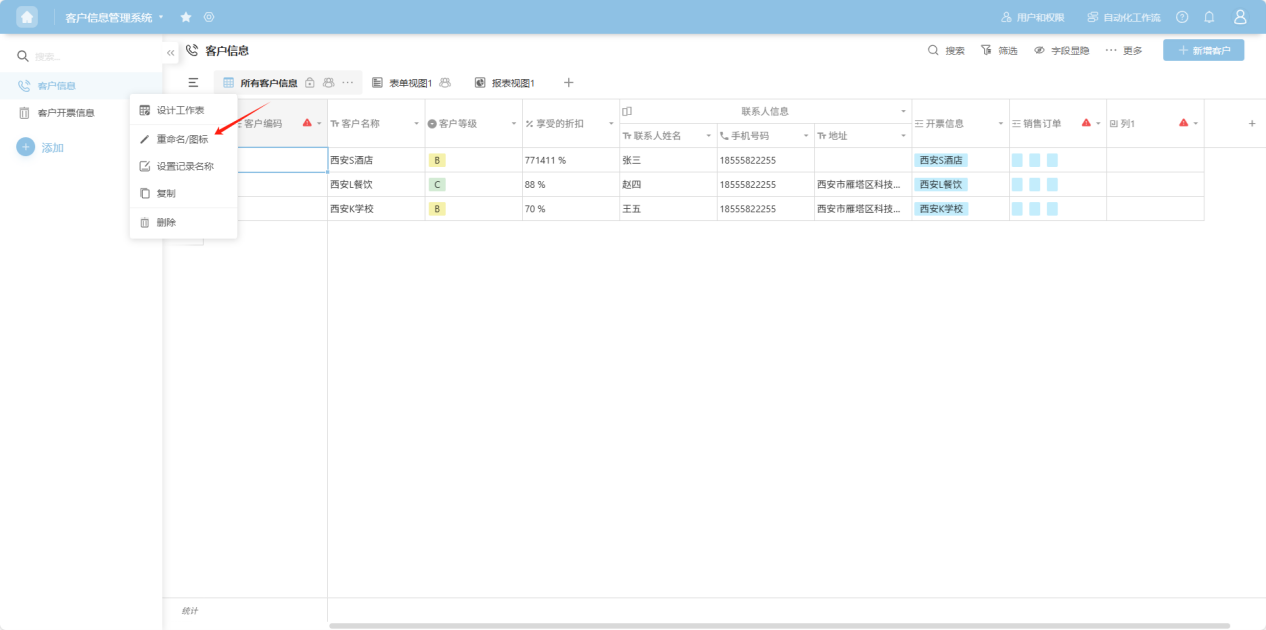
Step 3: Sequentially edit the worksheet name, icon, record name/new record name, and click "Save" to successfully edit the worksheet.

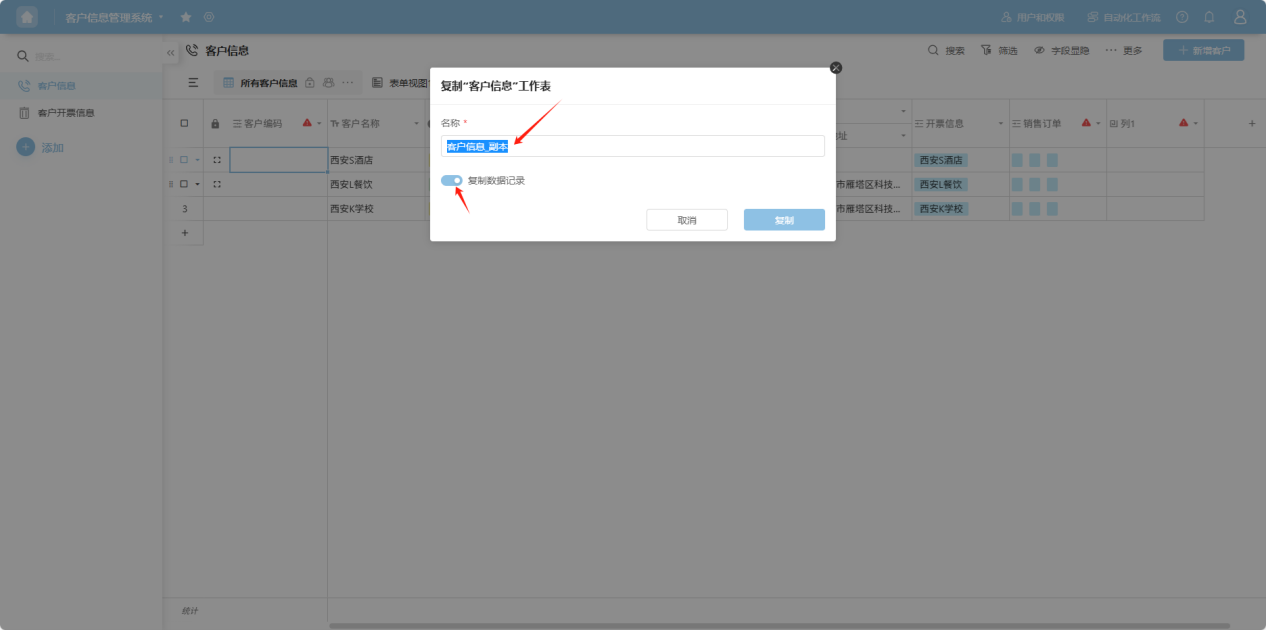
3.4 Copy
Step 1: From the workspace left application list or application cards under all applications, enter the application whose worksheets you want to edit.
Step 2: Select the worksheet to edit, click the "" on the right side, open the worksheet "Edit Operation Selection" dropdown, and select "Copy"
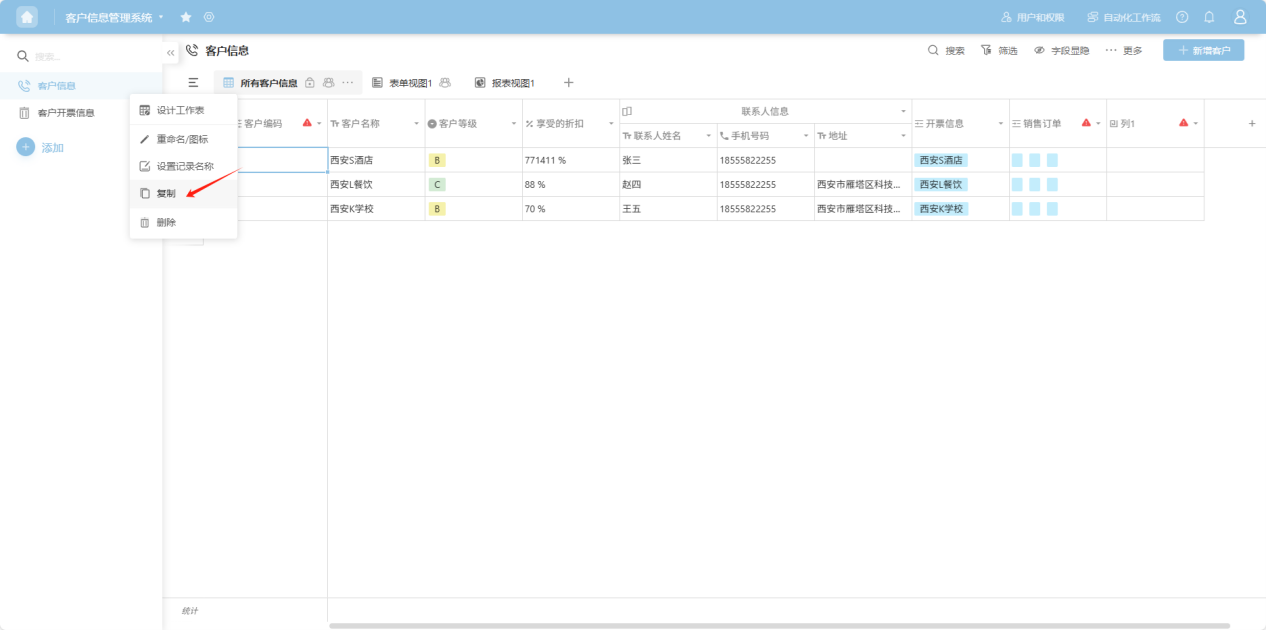
Step 3: In the popup, name the copied worksheet and choose whether to copy all data, click "Save" to successfully copy.
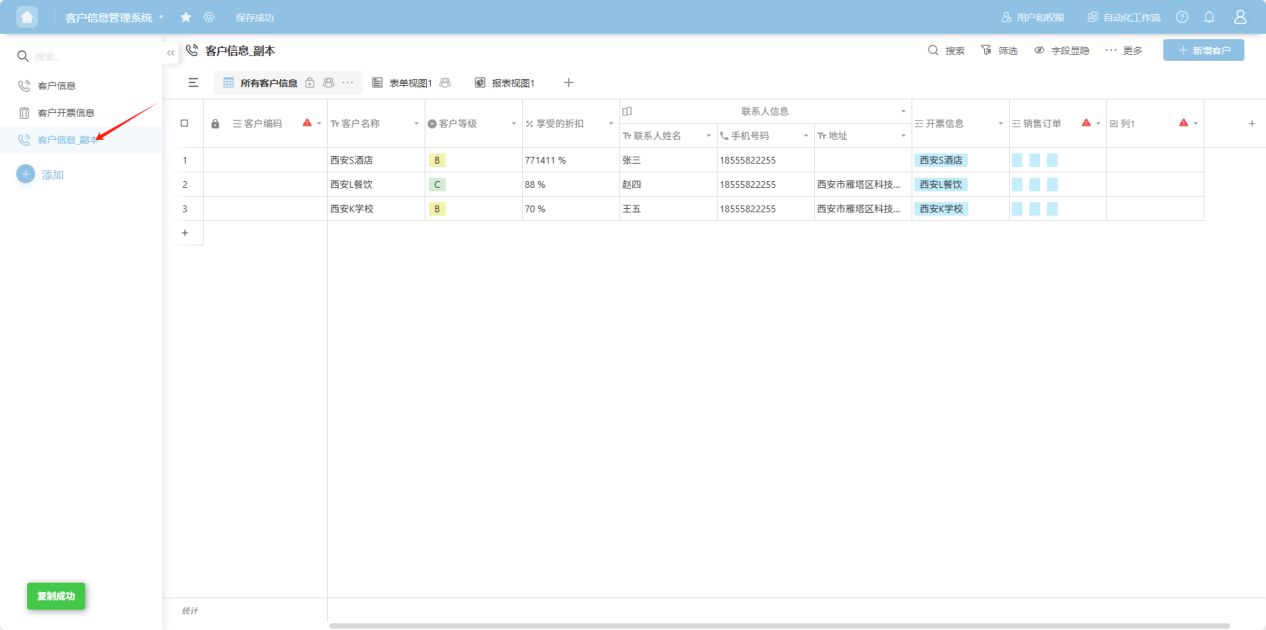
Step 4: The copied worksheet will appear in the left worksheet list.
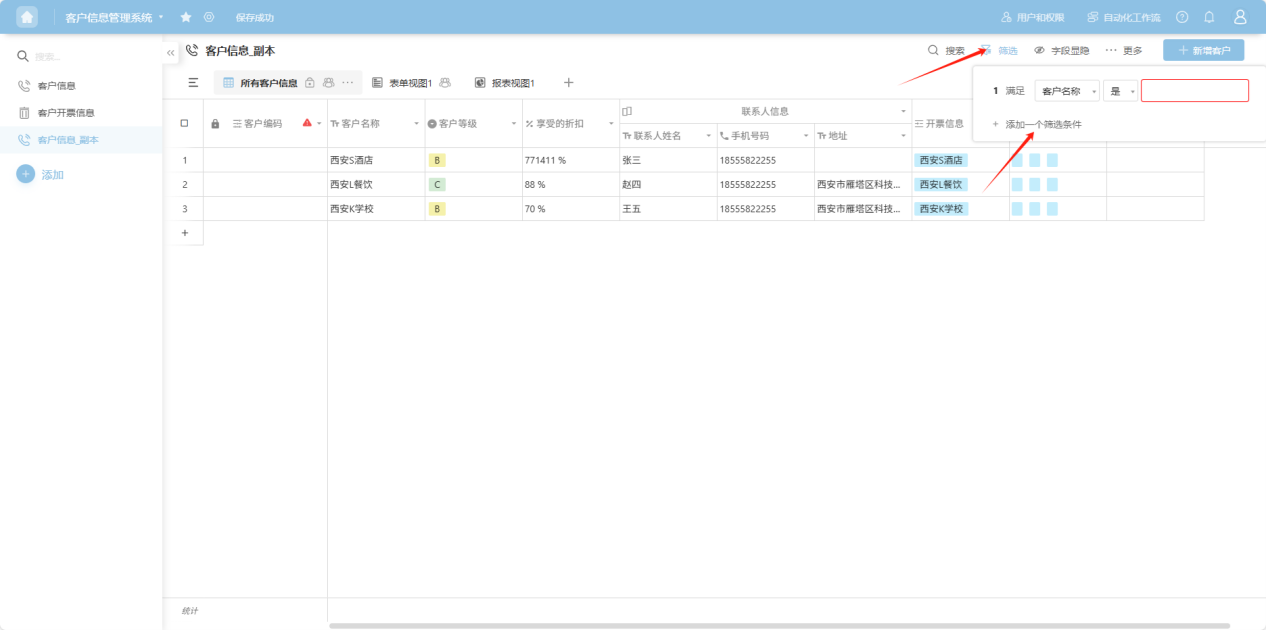
3.5 Filter
Step 1: From the workspace left application list or application cards under all applications, enter the application whose worksheets you want to edit.
Step 2: Select the worksheet to edit, click the " " icon in the upper right corner, open the worksheet filter condition add box, select "Create a New Filter Rule", add filter conditions to filter data for the worksheet. Multiple filter conditions take effect simultaneously.
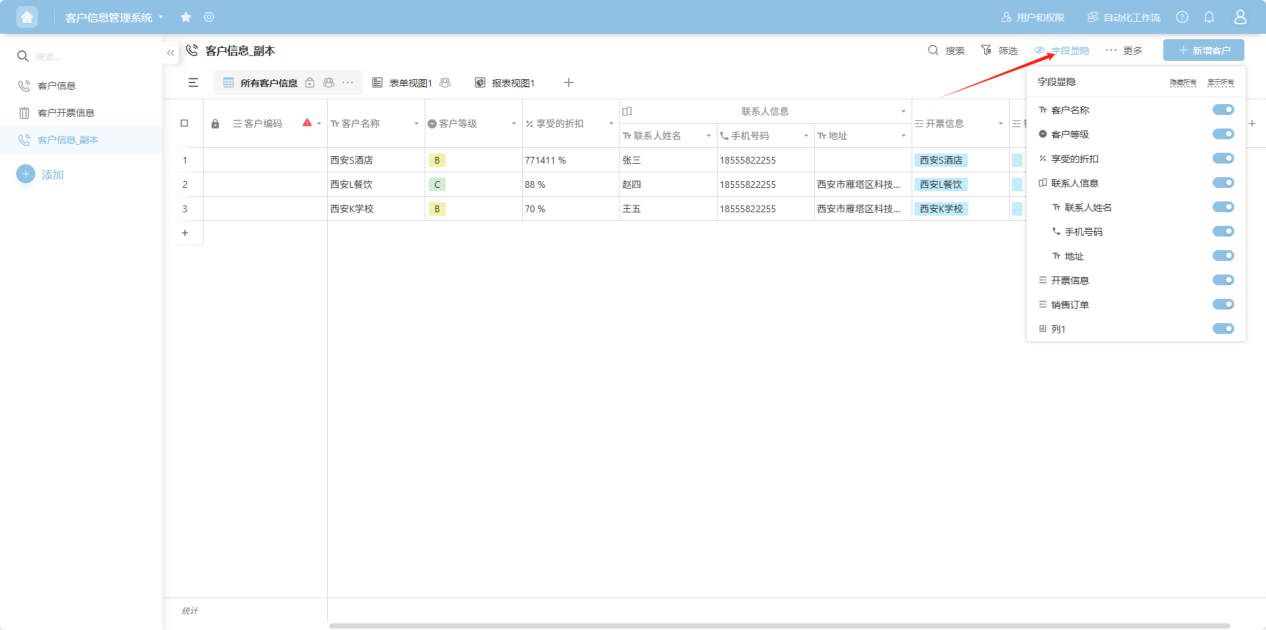
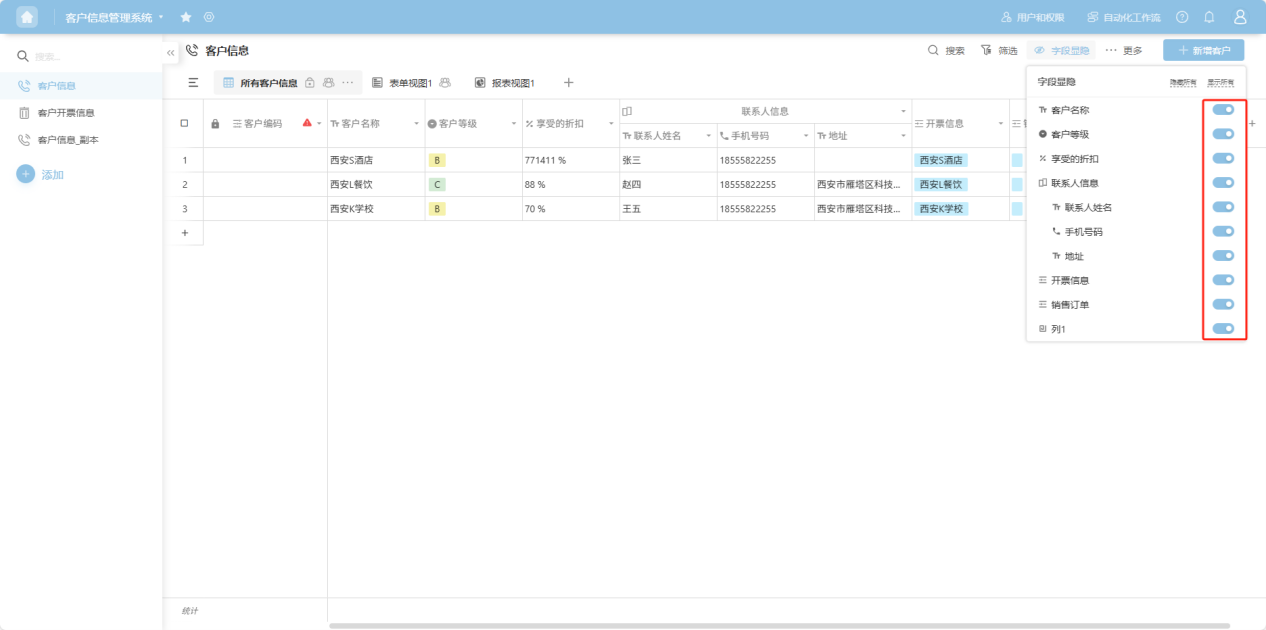
3.6 Field Visibility
Step 1: From the workspace left application list or application cards under all applications, enter the application whose worksheets you want to edit.
Step 2: Select the worksheet to edit, click the " " icon in the upper right corner, open the field visibility edit box, and control whether fields are displayed for the worksheet using toggles.
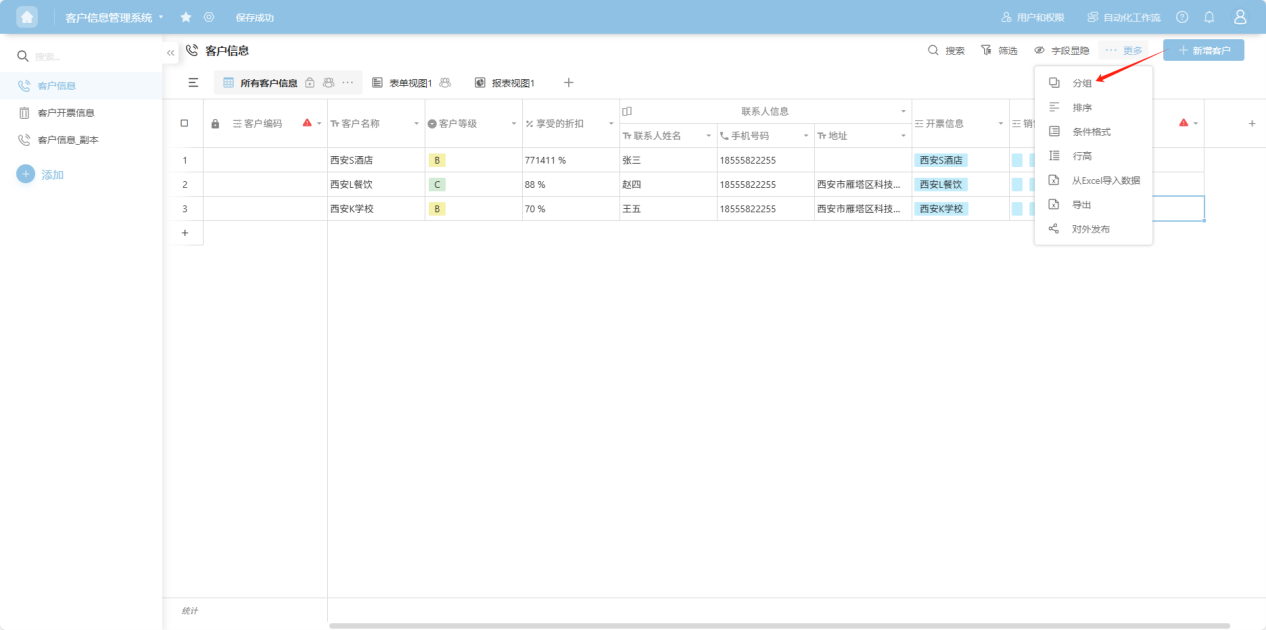
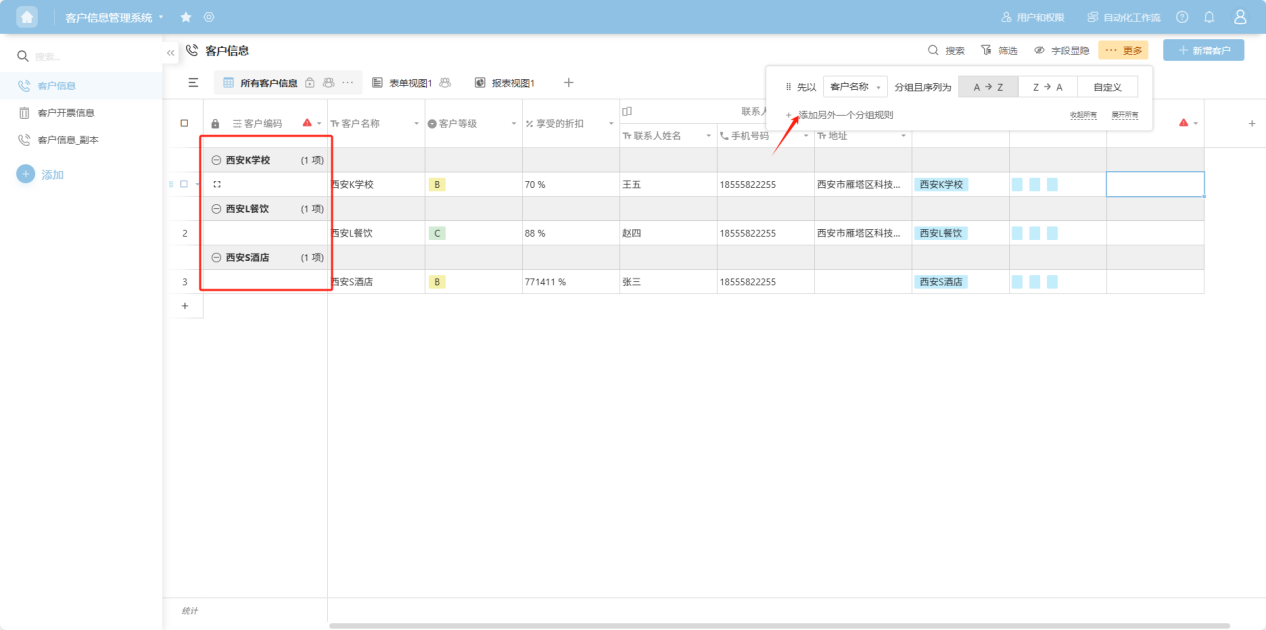
3.7 Grouping
Step 1: From the workspace left application list or application cards under all applications, enter the application whose worksheets you want to edit.
Step 2: Select the worksheet to edit, click "More → Grouping" in the upper right corner, open the worksheet grouping condition add box, select "Create a New Grouping Rule", add grouping conditions. Multiple grouping conditions take effect simultaneously.
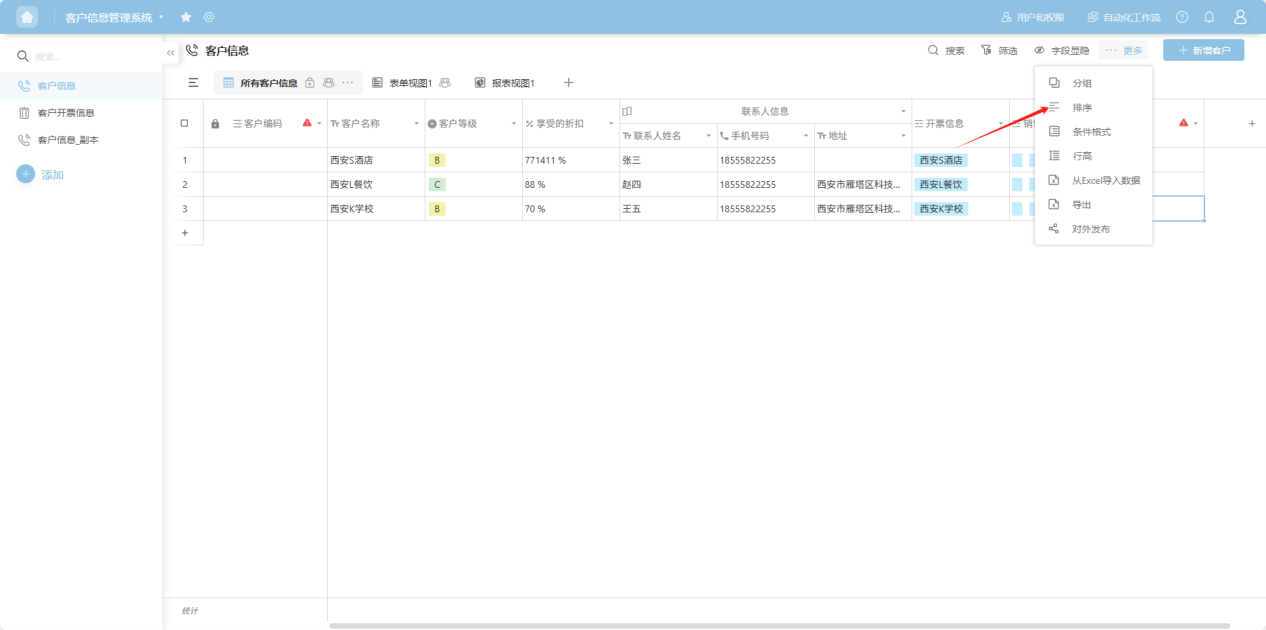
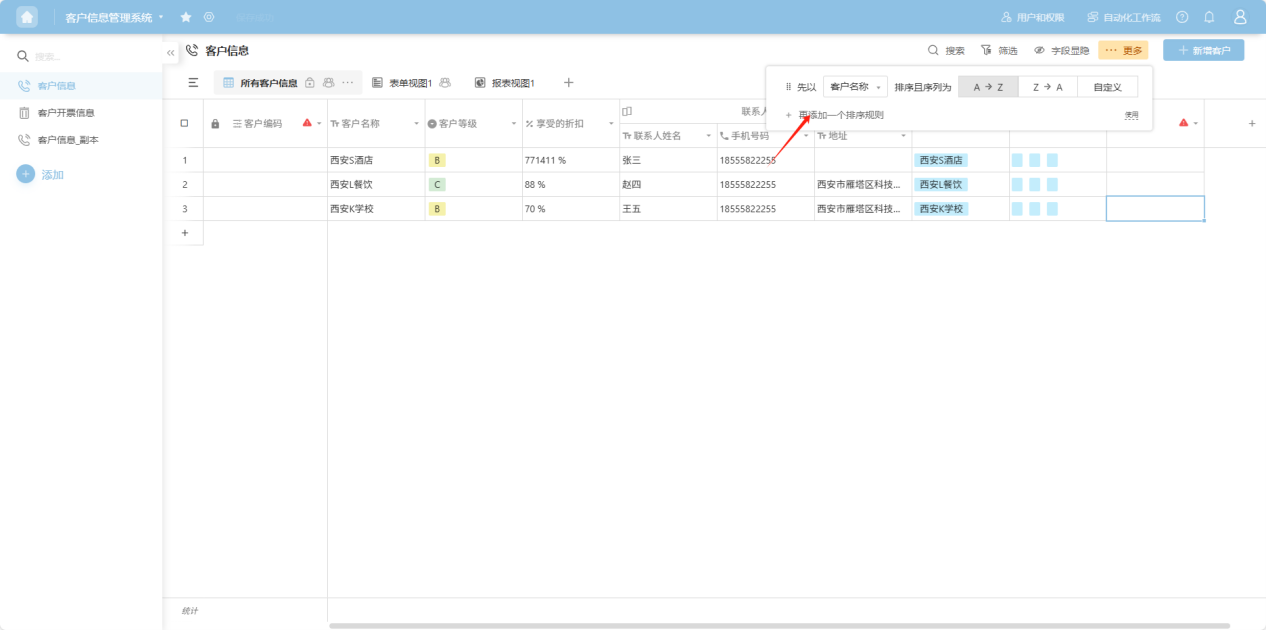
3.8 Sorting
Step 1: From the workspace left application list or application cards under all applications, enter the application whose worksheets you want to edit.
Step 2: Select the worksheet to edit, click "More → Sorting" in the upper right corner, open the worksheet sorting condition add box, select "Create a New Sorting Rule", add sorting conditions. Multiple sorting conditions take effect simultaneously.
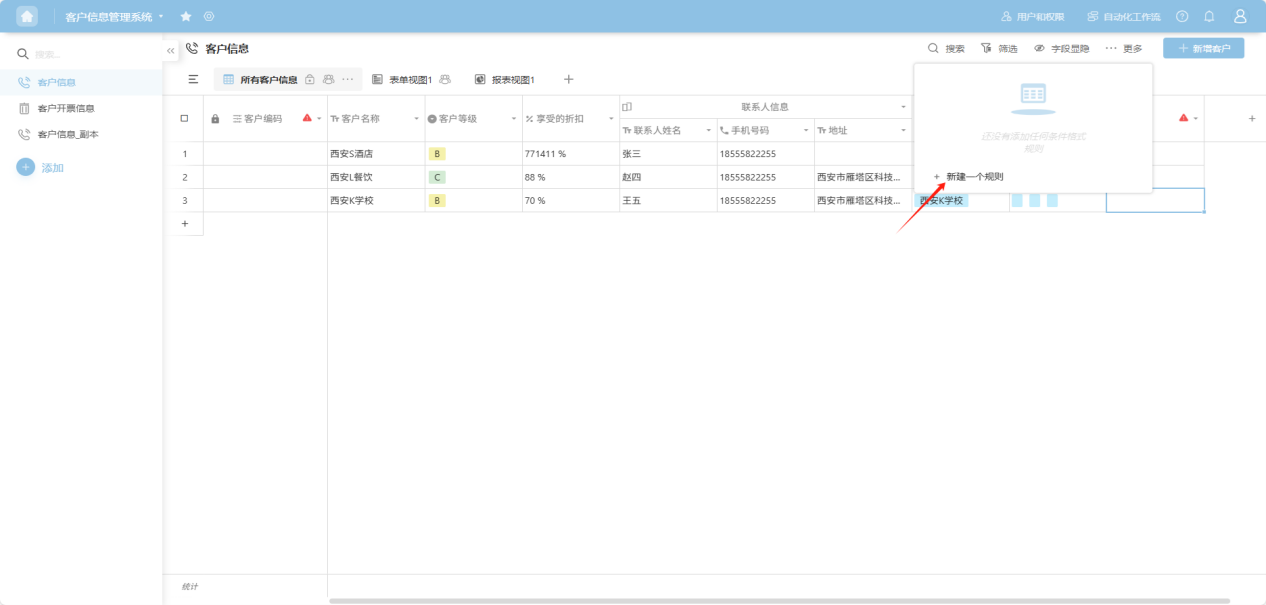
3.9 Conditional Formatting
Step 1: From the workspace left application list or application cards under all applications, enter the application whose worksheets you want to edit.
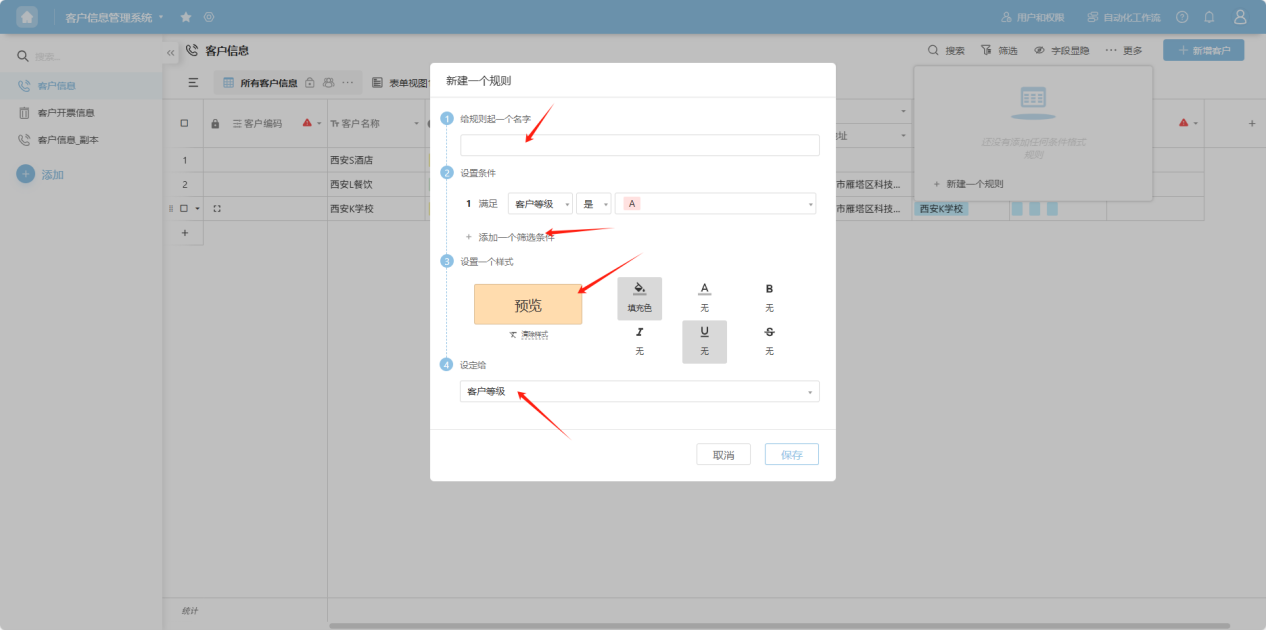
Step 2: Select the worksheet to edit, click "More → Conditional Formatting" in the upper right corner, open the worksheet conditional formatting add box, select "Create New Conditional Formatting"

Step 3: In the opened popup, sequentially set the name, conditions, style, and target data, click "Save" to take effect.
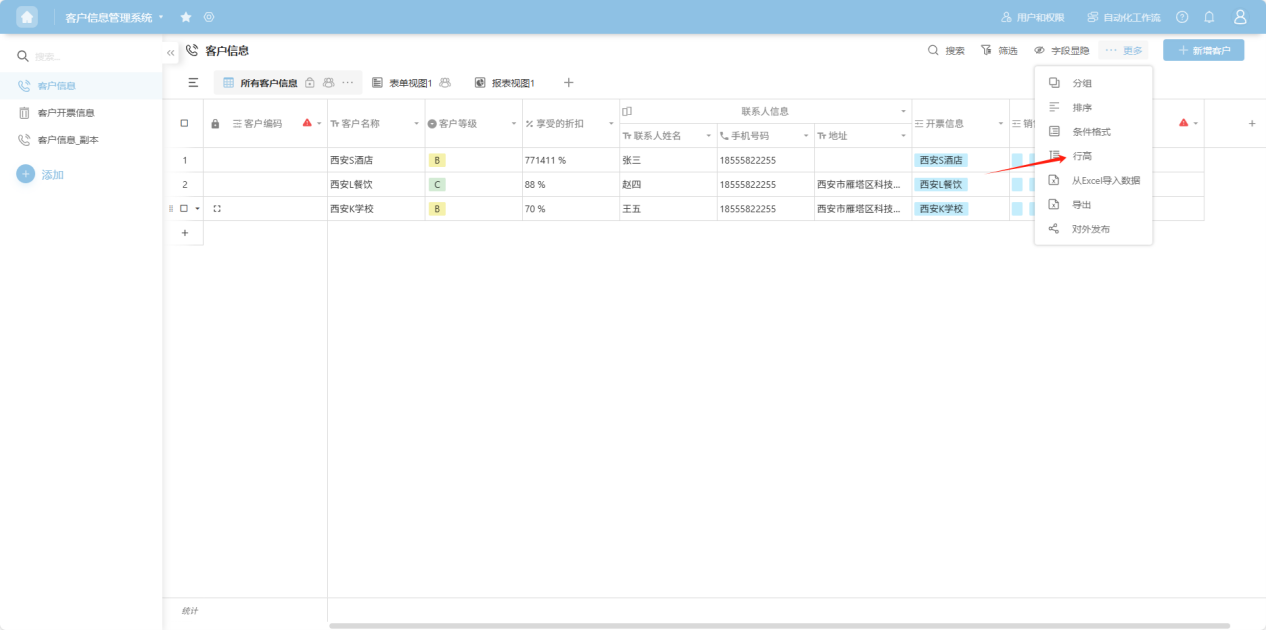
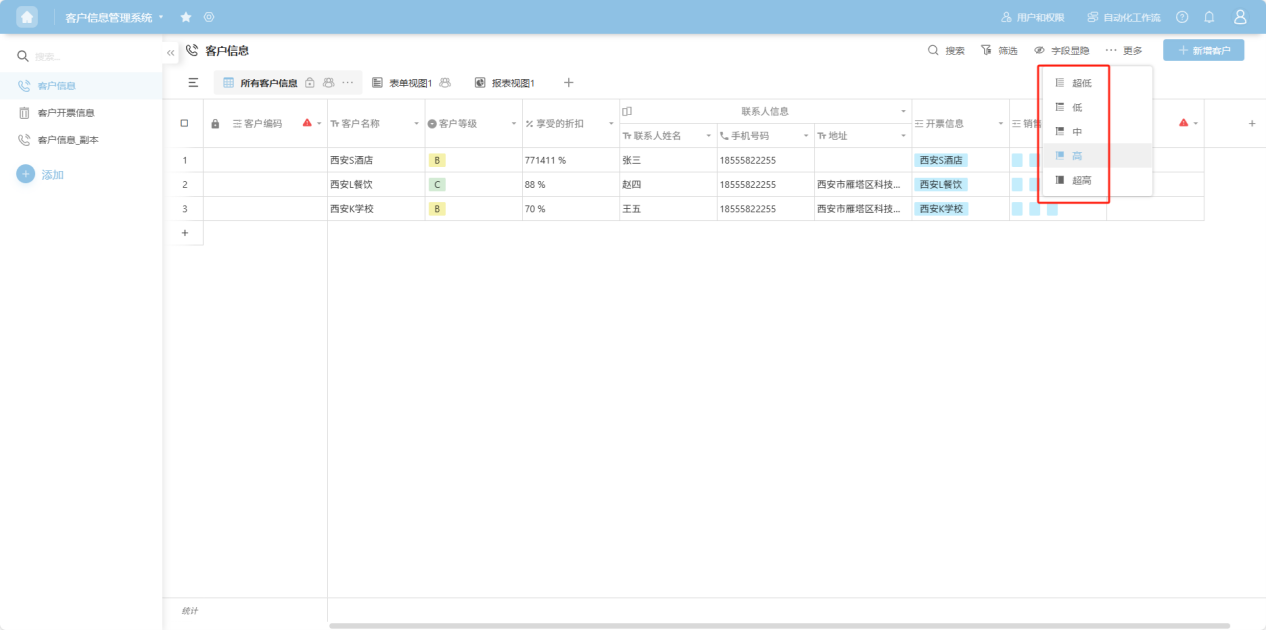
3.10 Row Height
Step 1: From the workspace left application list or application cards under all applications, enter the application whose worksheets you want to edit.
Step 2: Select the worksheet to edit, click "More → Row Height" in the upper right corner, open the row height selection list, and select the desired row height.
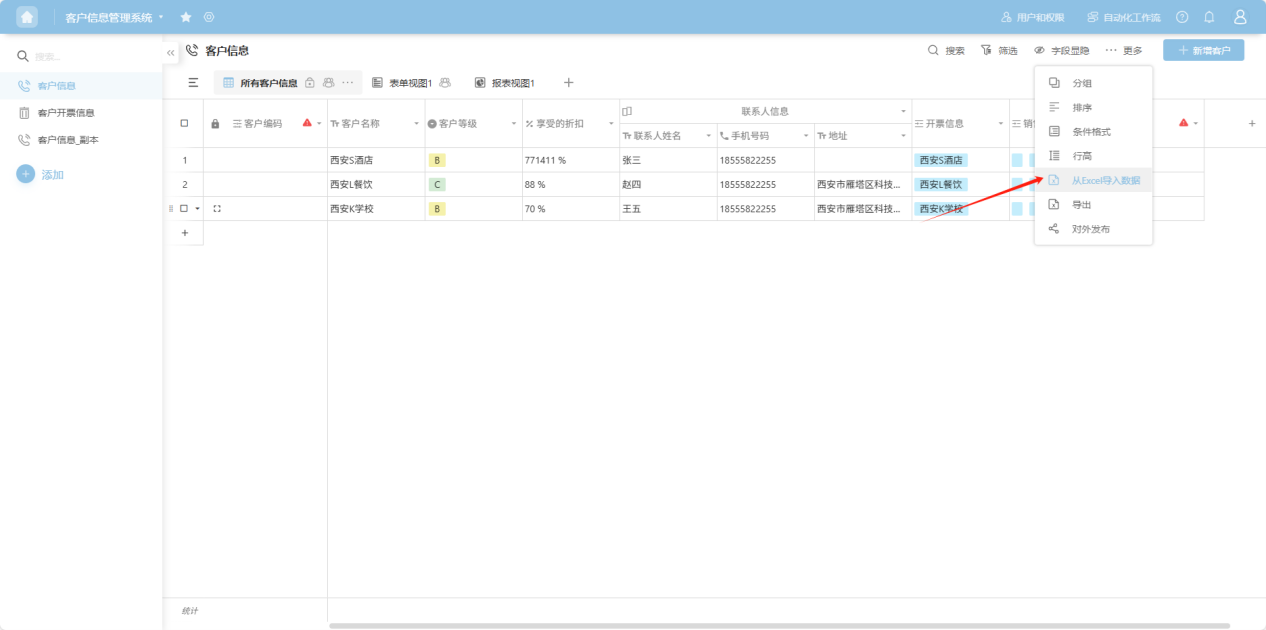
3.11 Import Data from Excel
Step 1: From the workspace left application list or application cards under all applications, enter the application whose worksheets you want to edit.
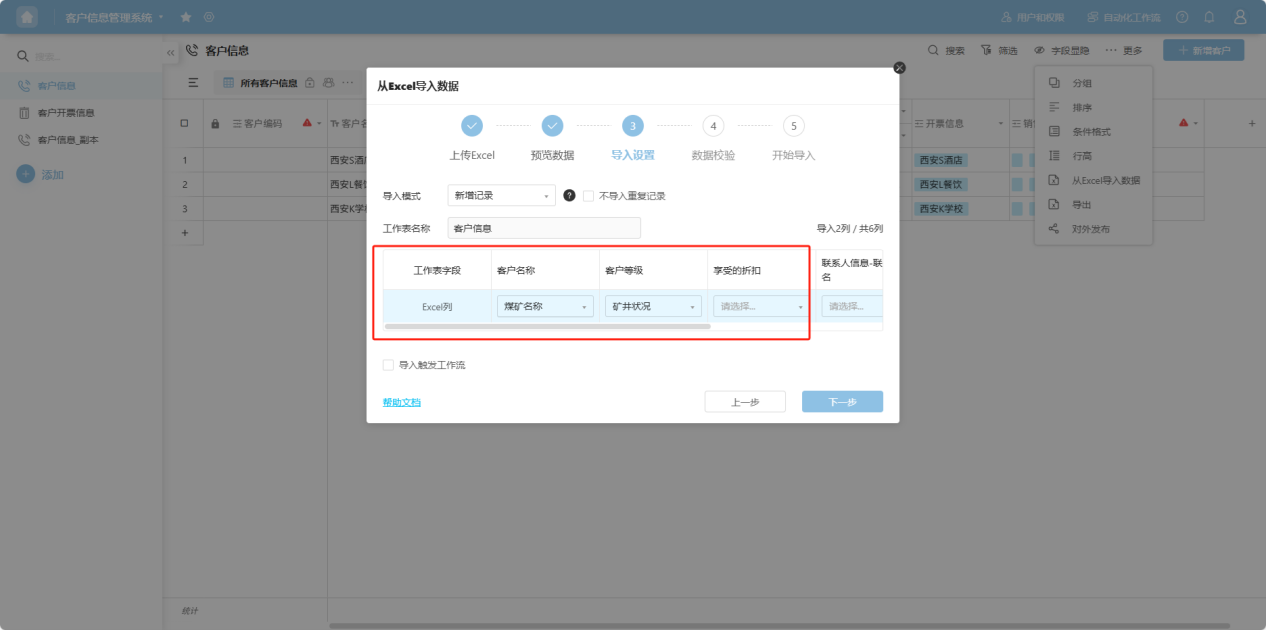
Step 2: Select the worksheet to edit, click "More → Import Data from Excel" in the upper right corner, open the data import popup.
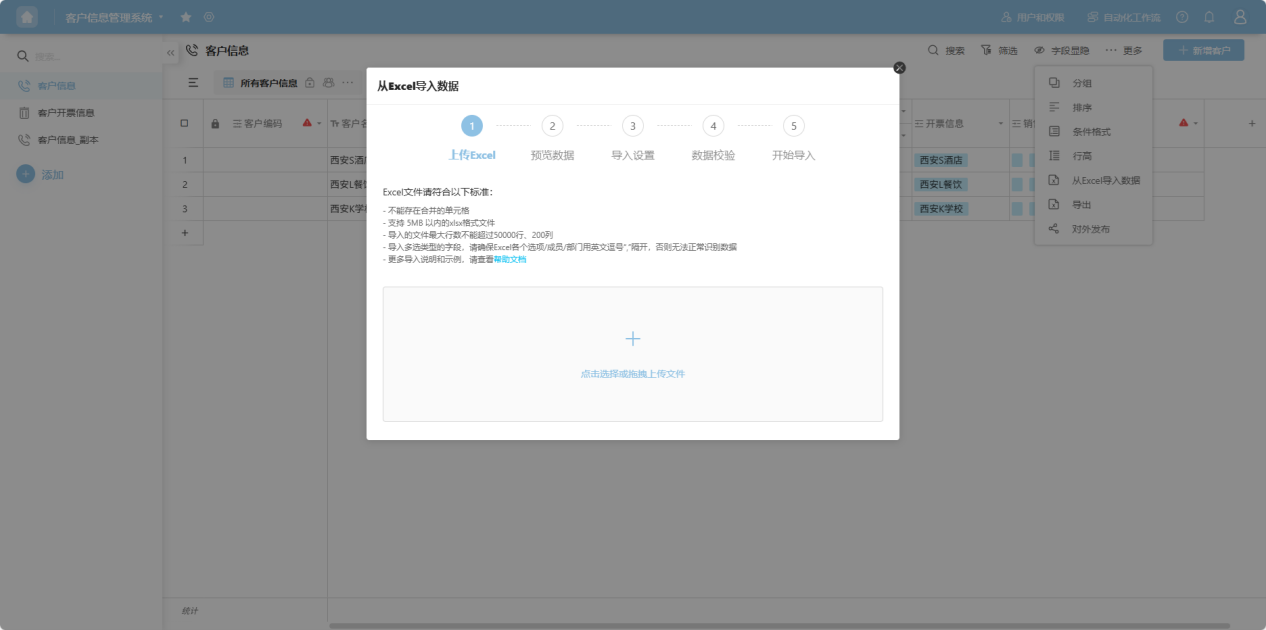
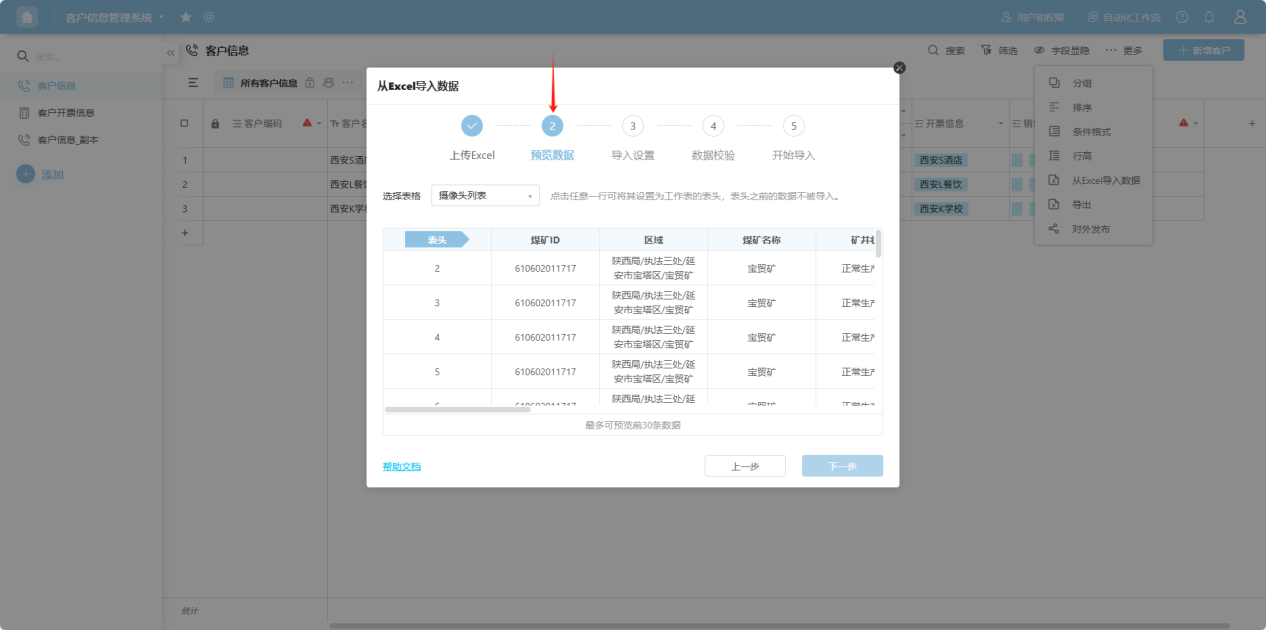
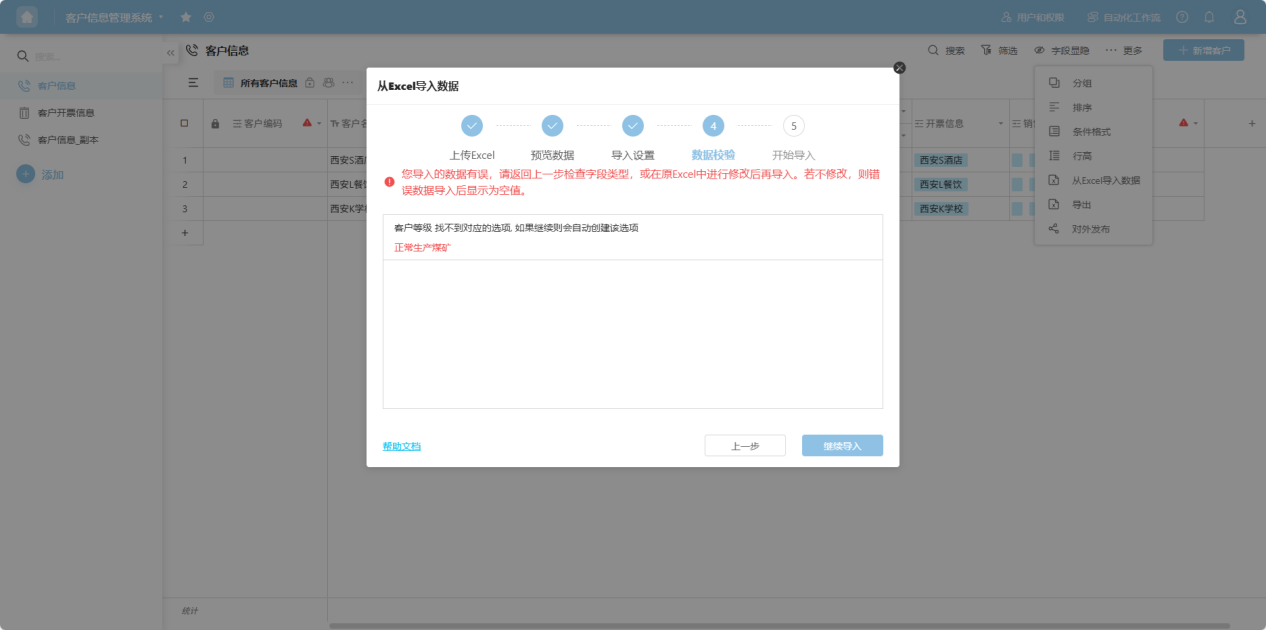
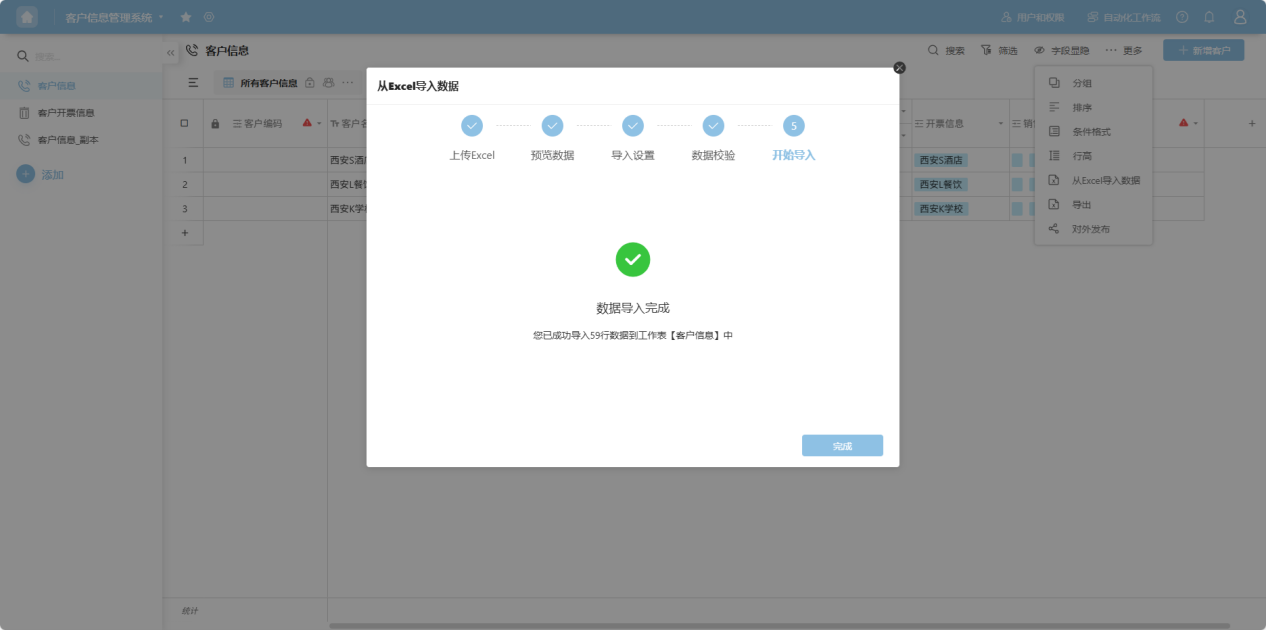
Step 3: Drag the file or click to upload as required, preview the data, and after confirming accuracy, set field correspondences, import methods, etc. The system will automatically validate. After confirming accuracy, click "Import".
3.12 Export
Step 1: From the workspace left application list or application cards under all applications, enter the application whose worksheets you want to edit.
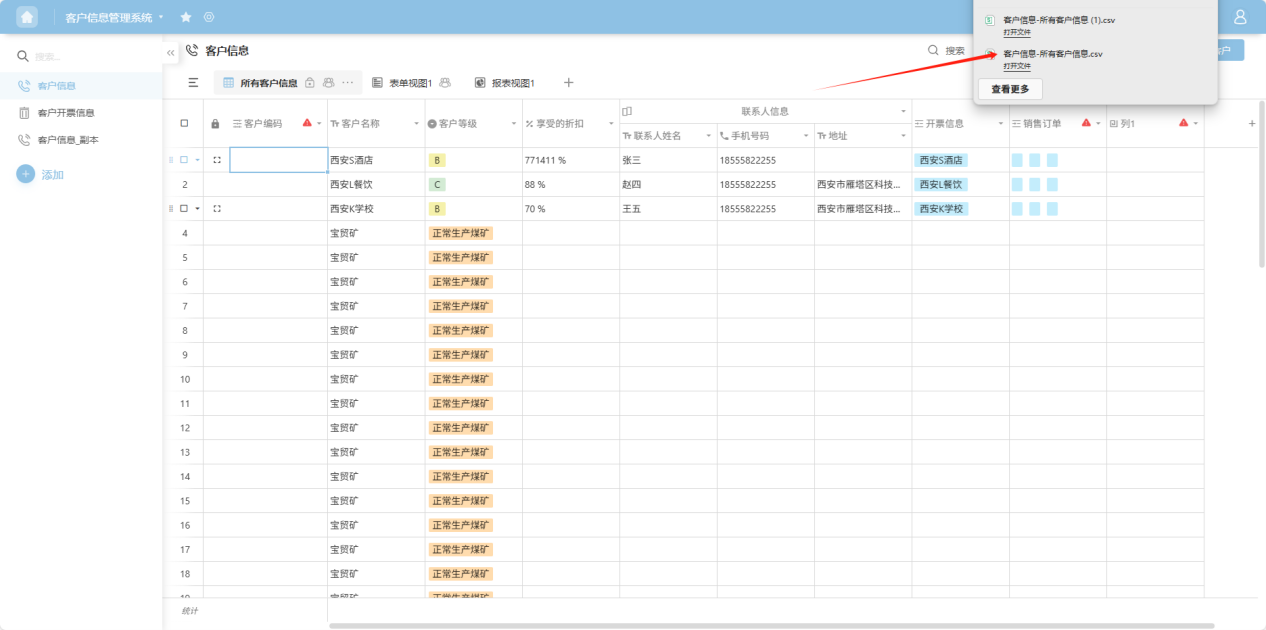
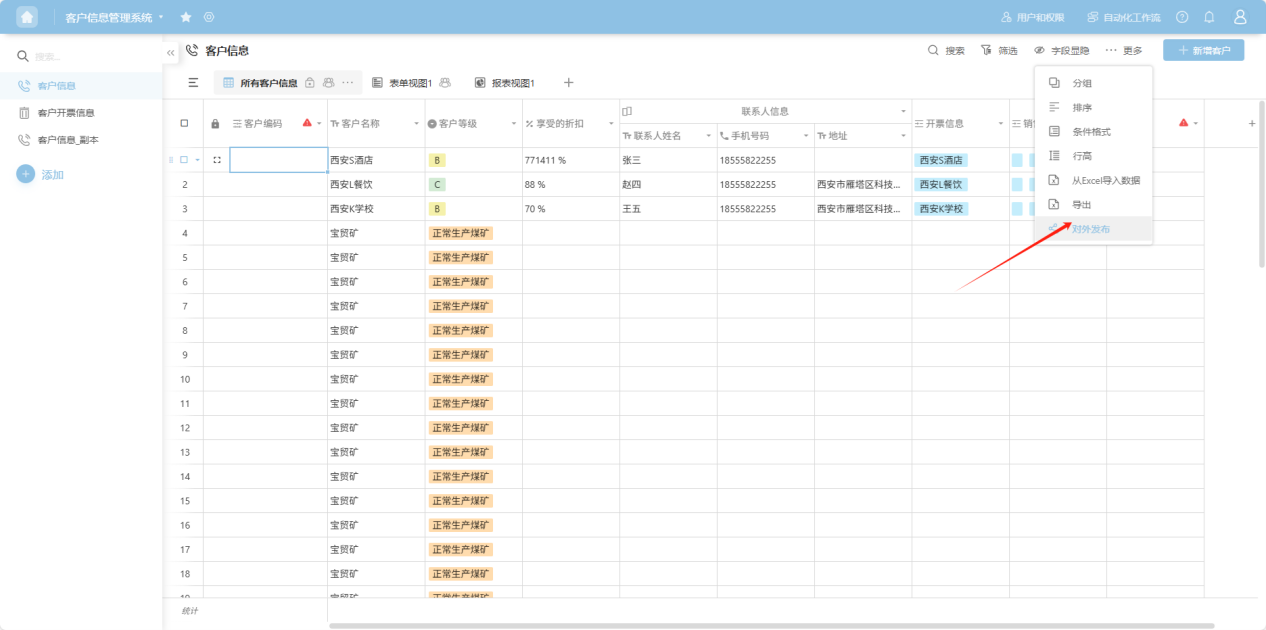
Step 2: Select the worksheet to edit, click "More → Export" in the upper right corner
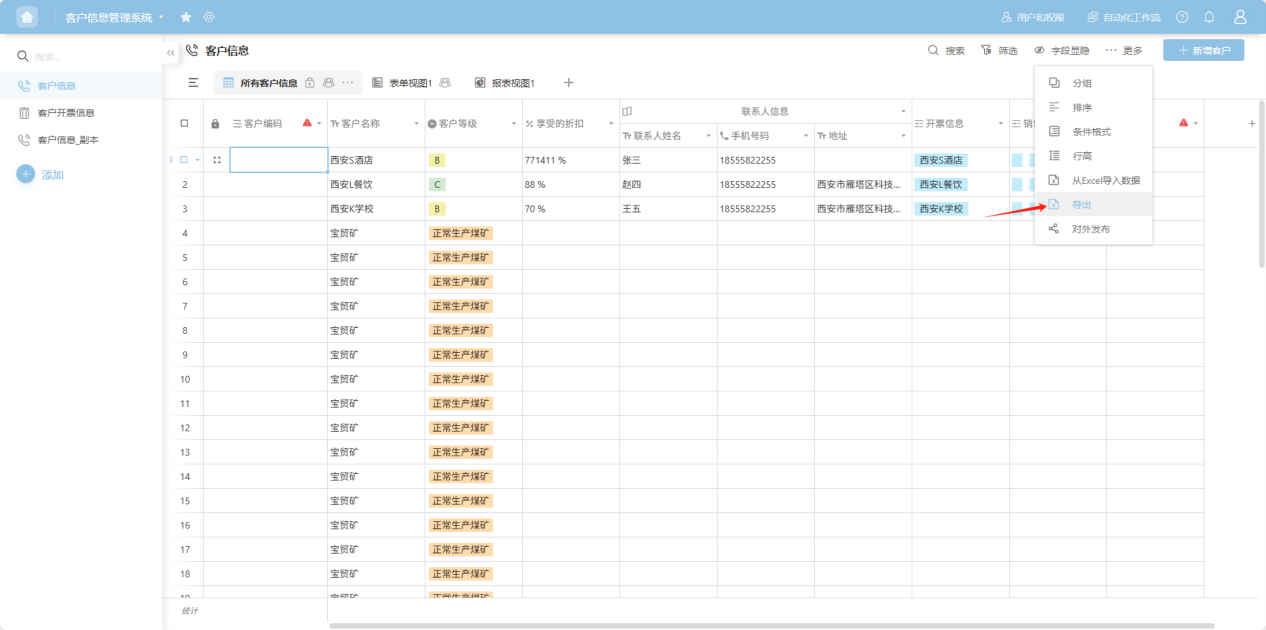
Step 3: The system will automatically export. After export, you can view it in the browser's download directory
3.13 External Publishing
Step 1: From the workspace left application list or application cards under all applications, enter the application whose worksheets you want to edit.
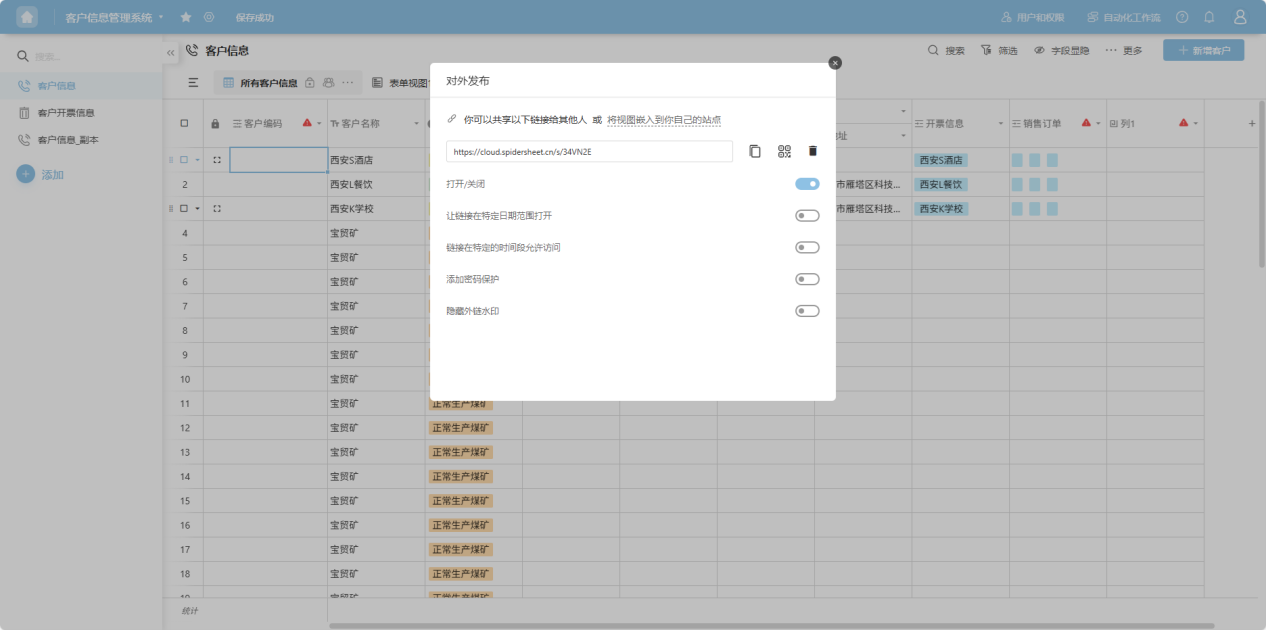
Step 2: Select the worksheet to edit, click "More → External Publishing" in the upper right corner
Step 3: Configure external publishing settings in the popup. After completion, publishing can be done through links or QR codes. Users who obtain the link can collaborate to fill in form data.
4. Deleting Worksheets
Step 1: From the workspace left application list or application cards under all applications, enter the application whose worksheets you want to edit.
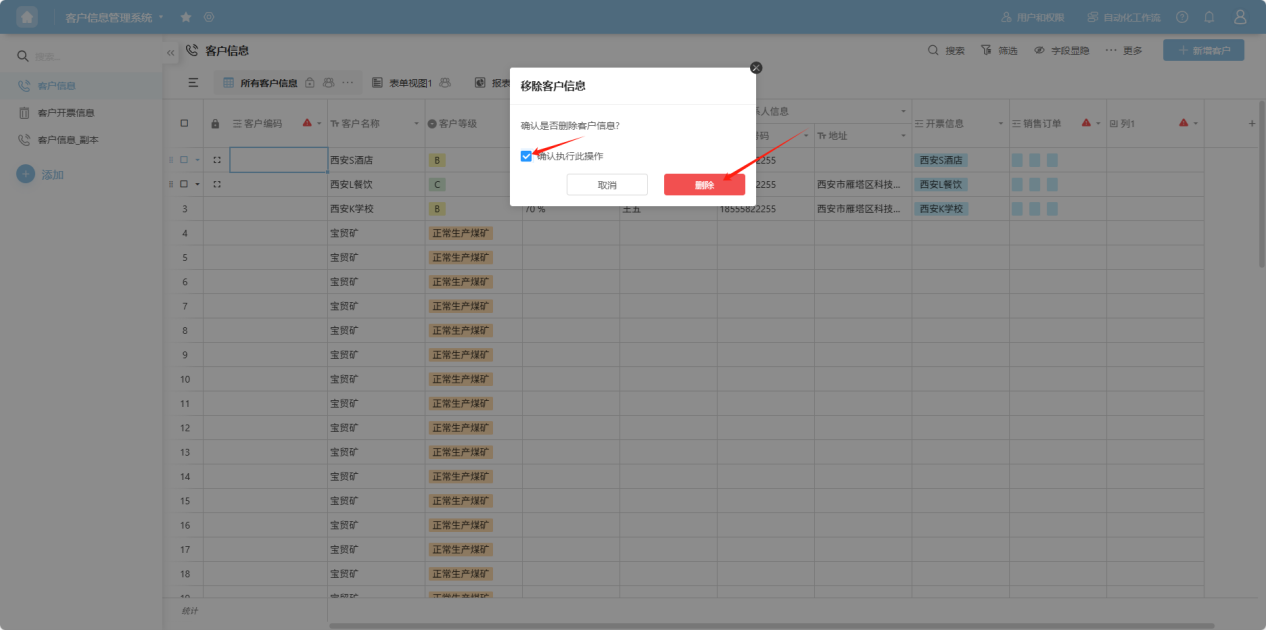
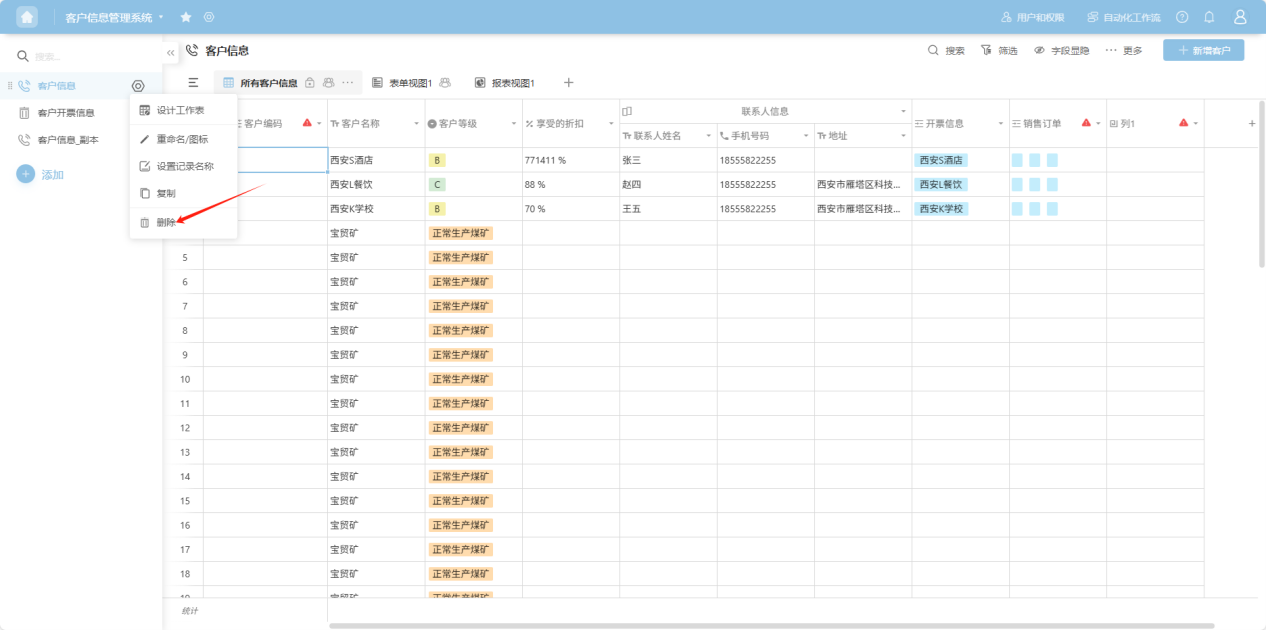
Step 2: Select the worksheet to edit, click the "..." on the right side, open the worksheet "Edit Operation Selection" dropdown, and select "Delete"
Step 3: Check "Confirm to execute this operation", click the "Delete" button to confirm deletion.
【Note: Worksheets cannot be recovered after deletion. Please operate with caution!】